If you're unsure, please follow the steps below.
Step 1: On Your Device
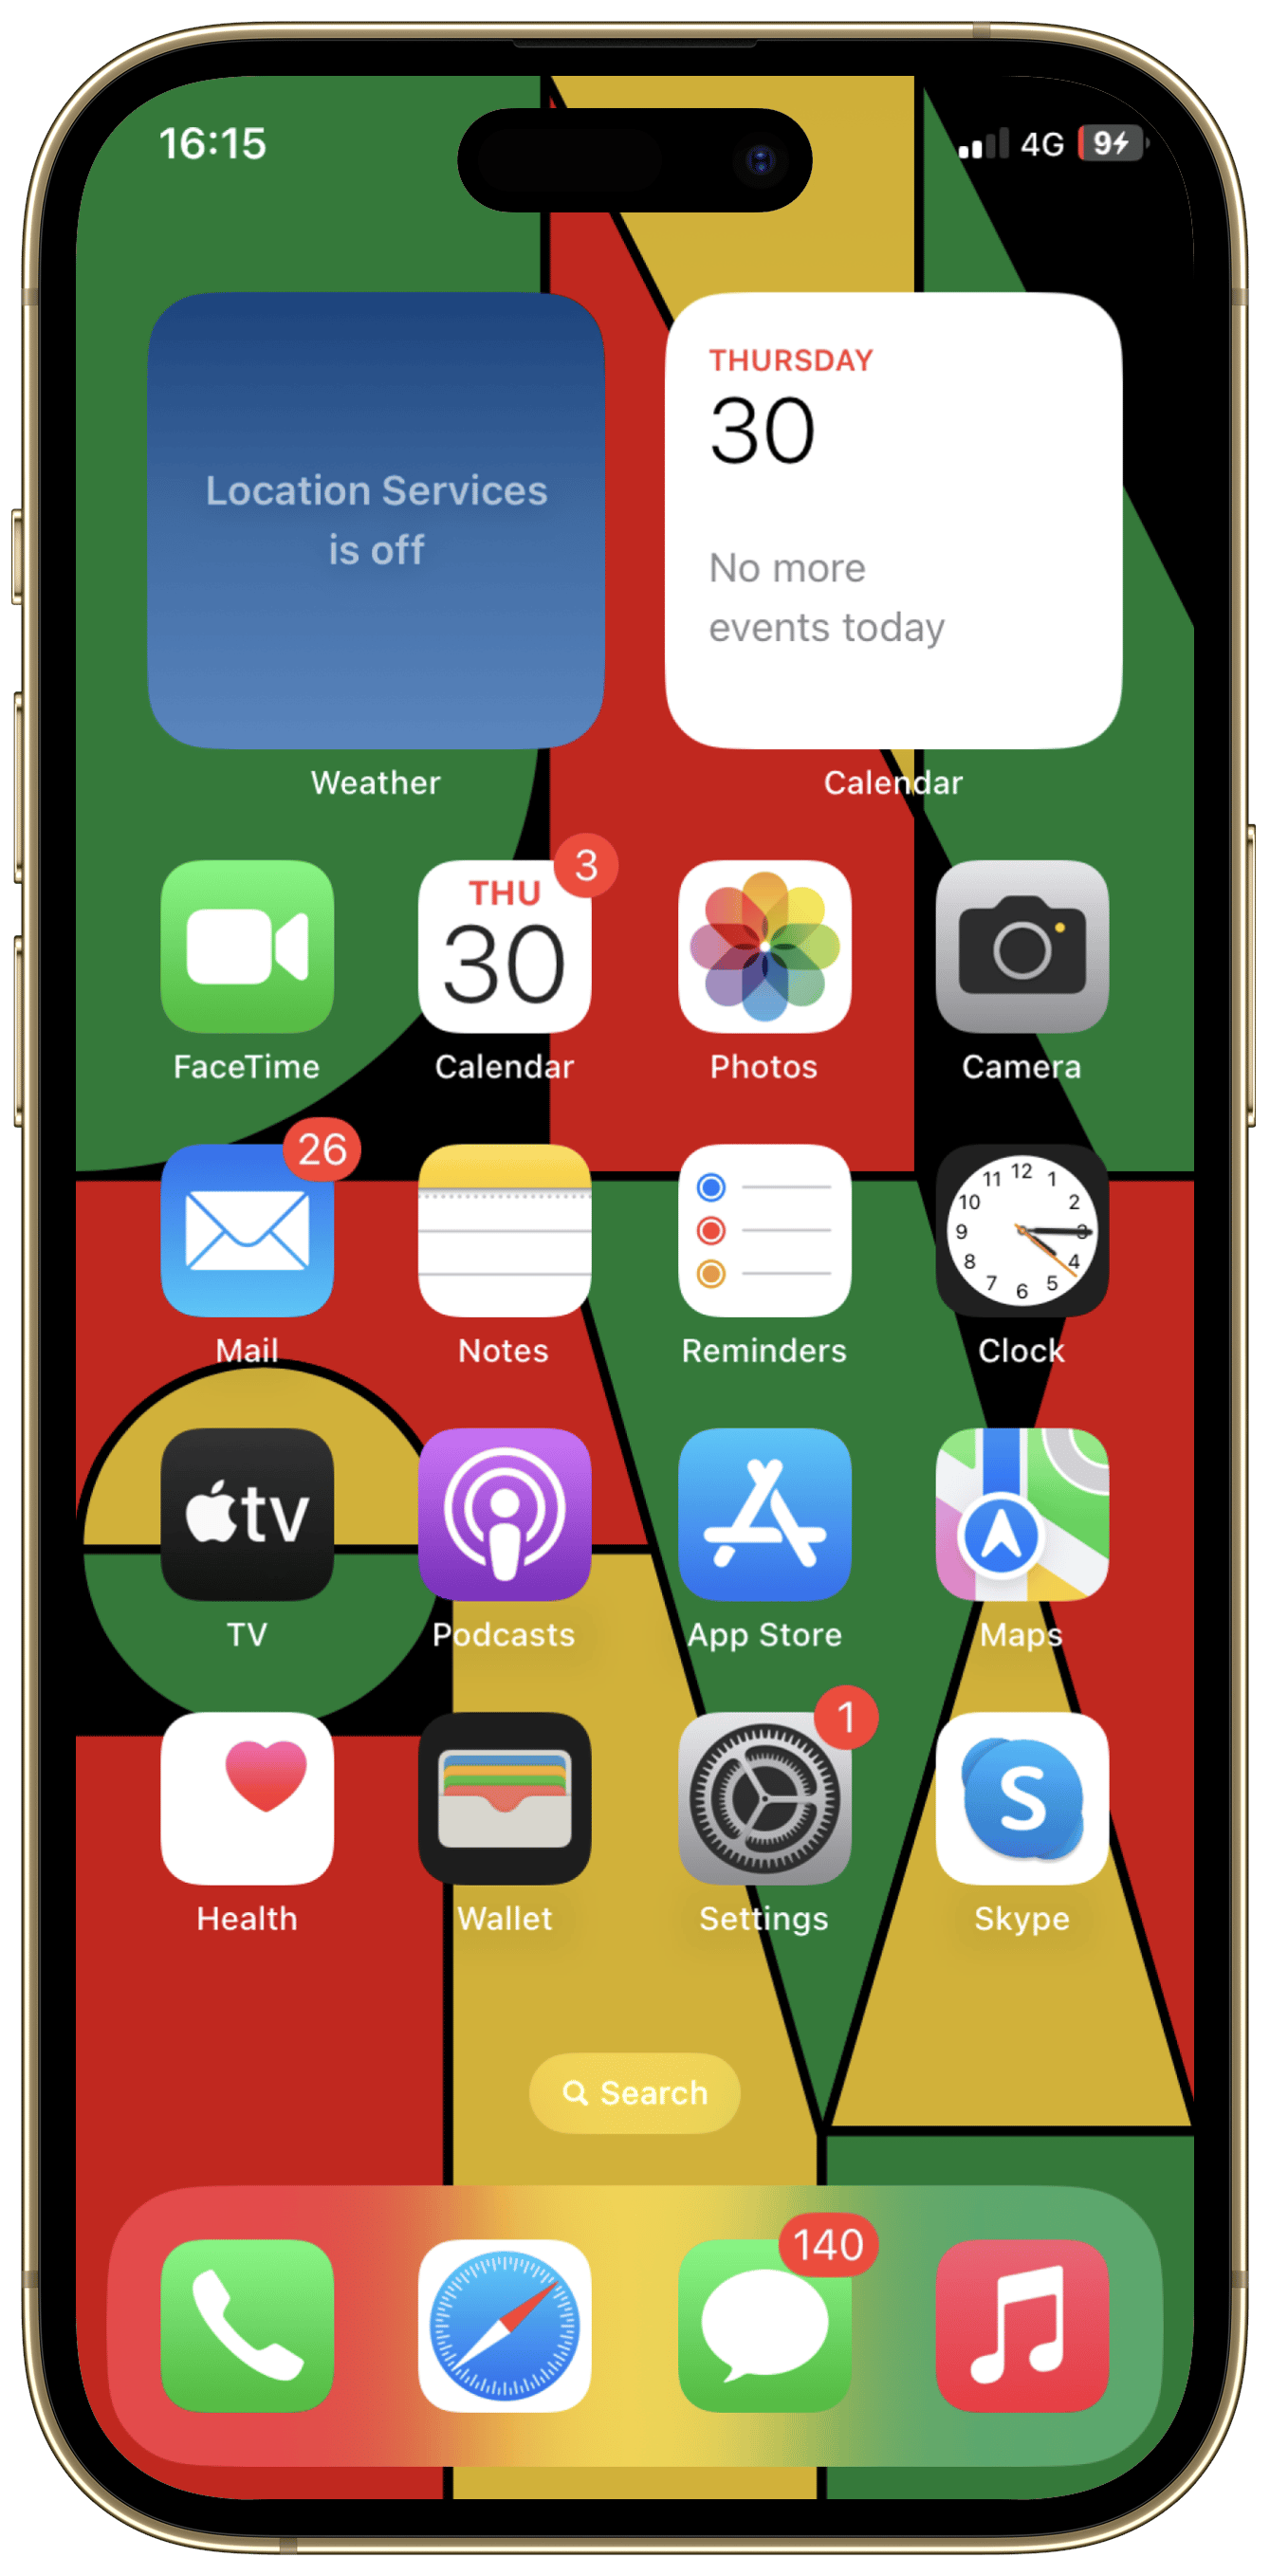
Open Settings
Tap Your Apple ID

Tap “Family Sharing”
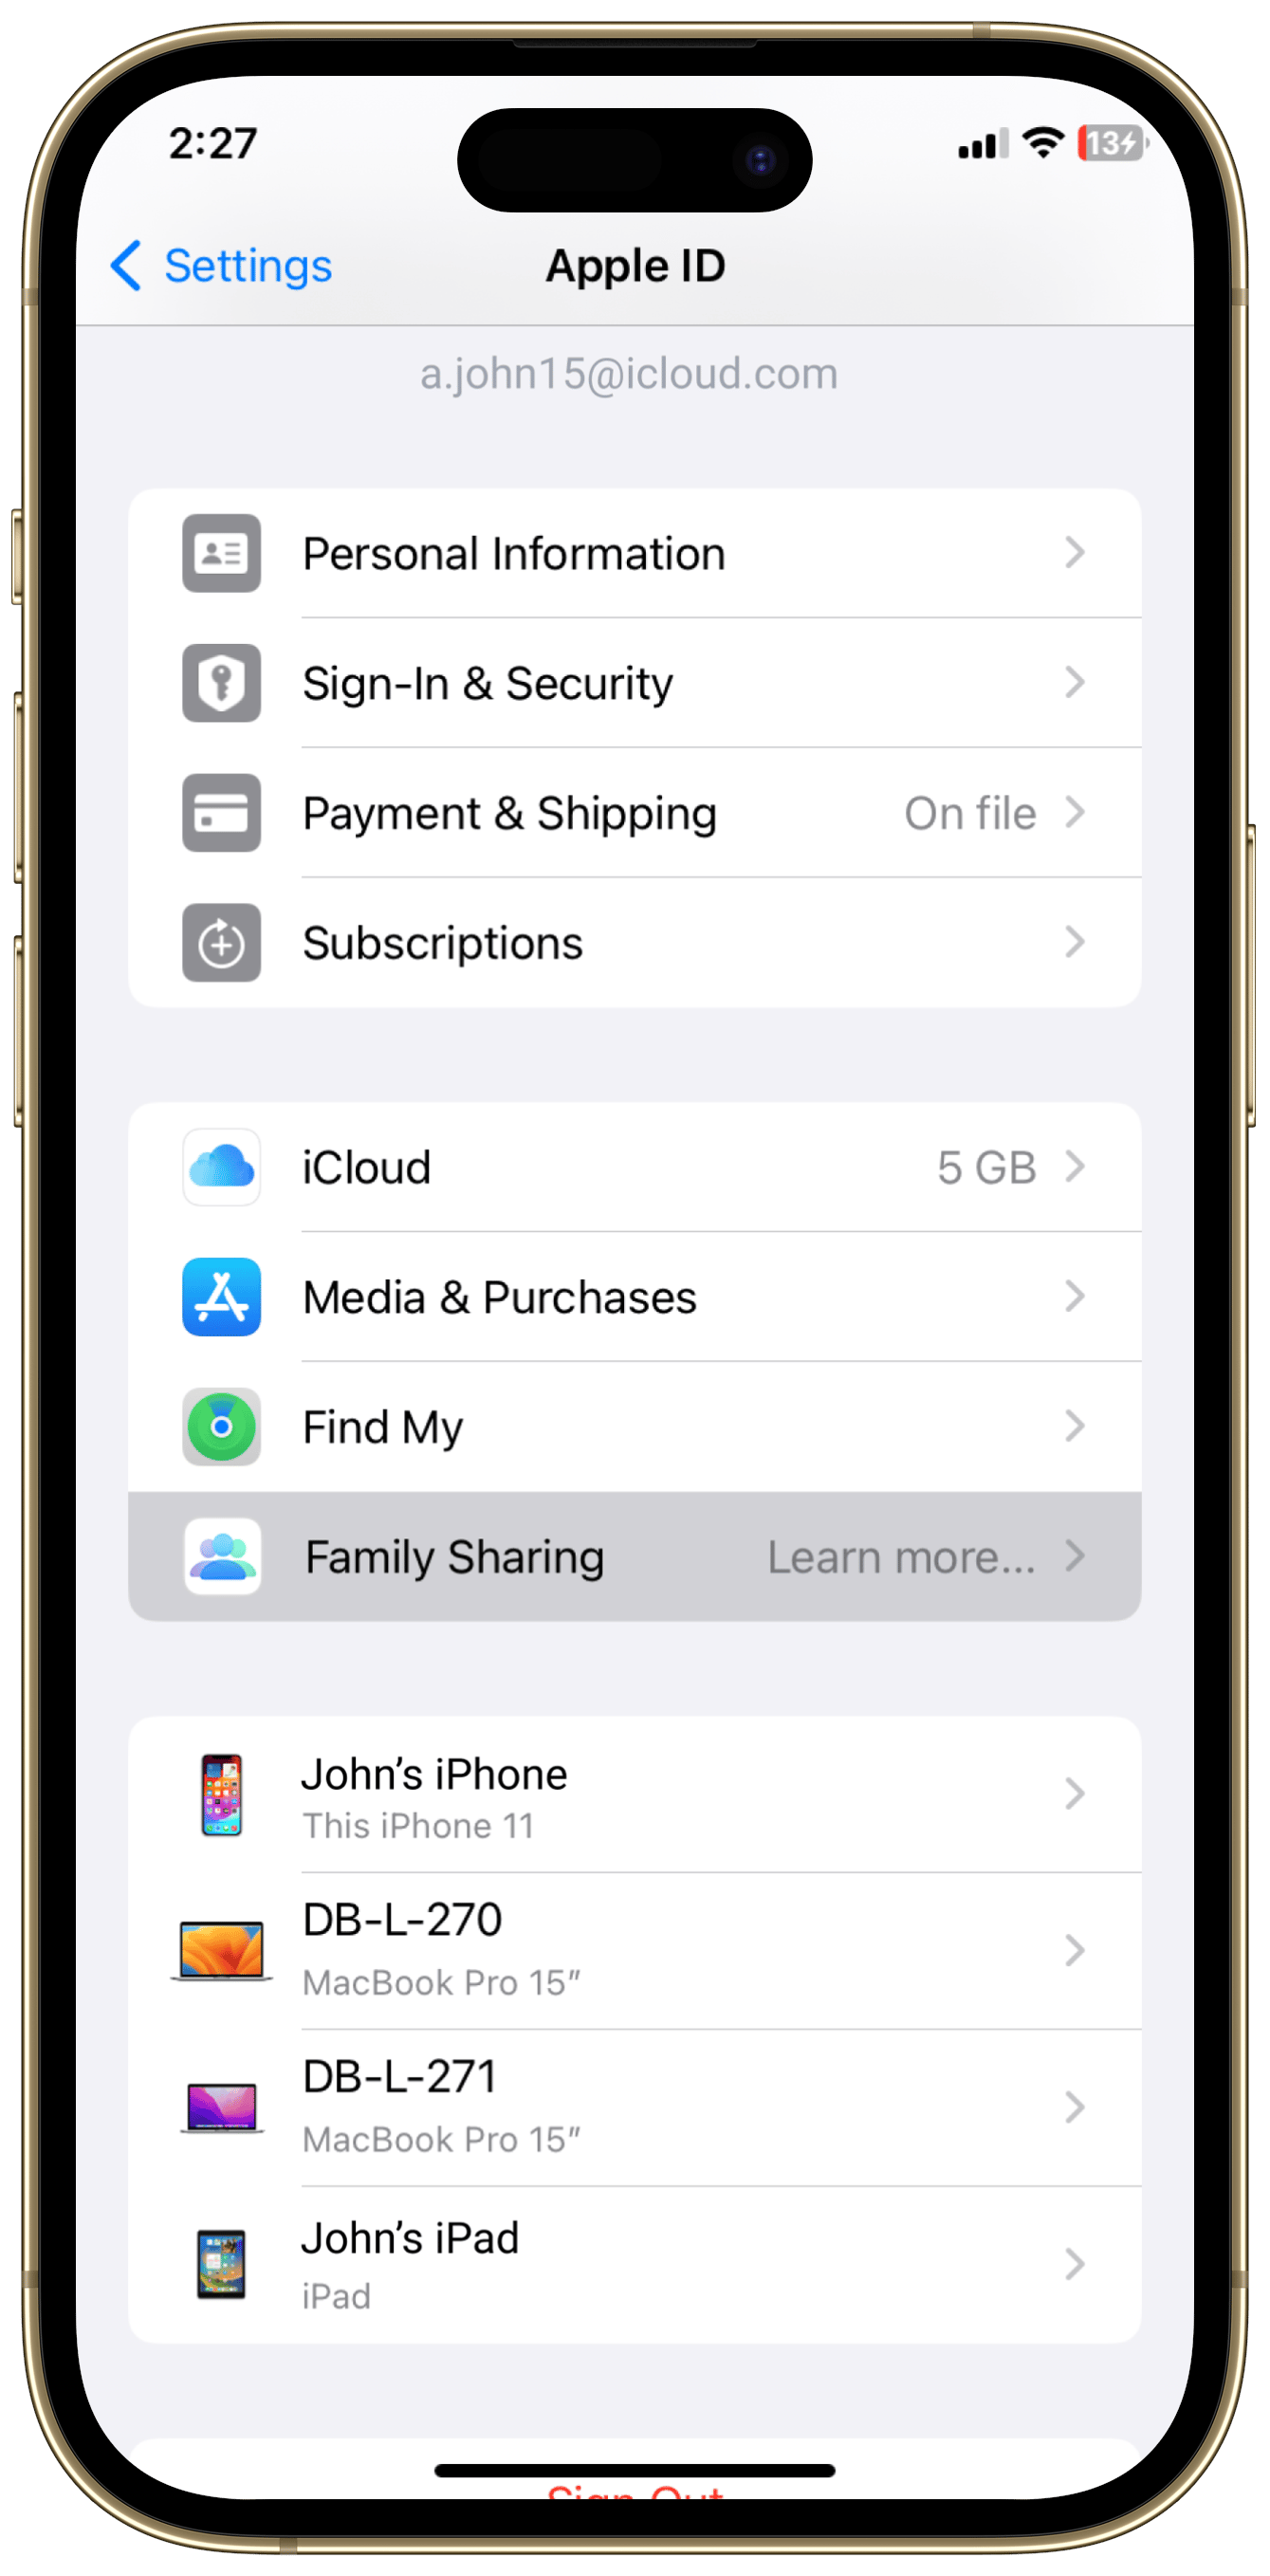
Tap “Add Member”
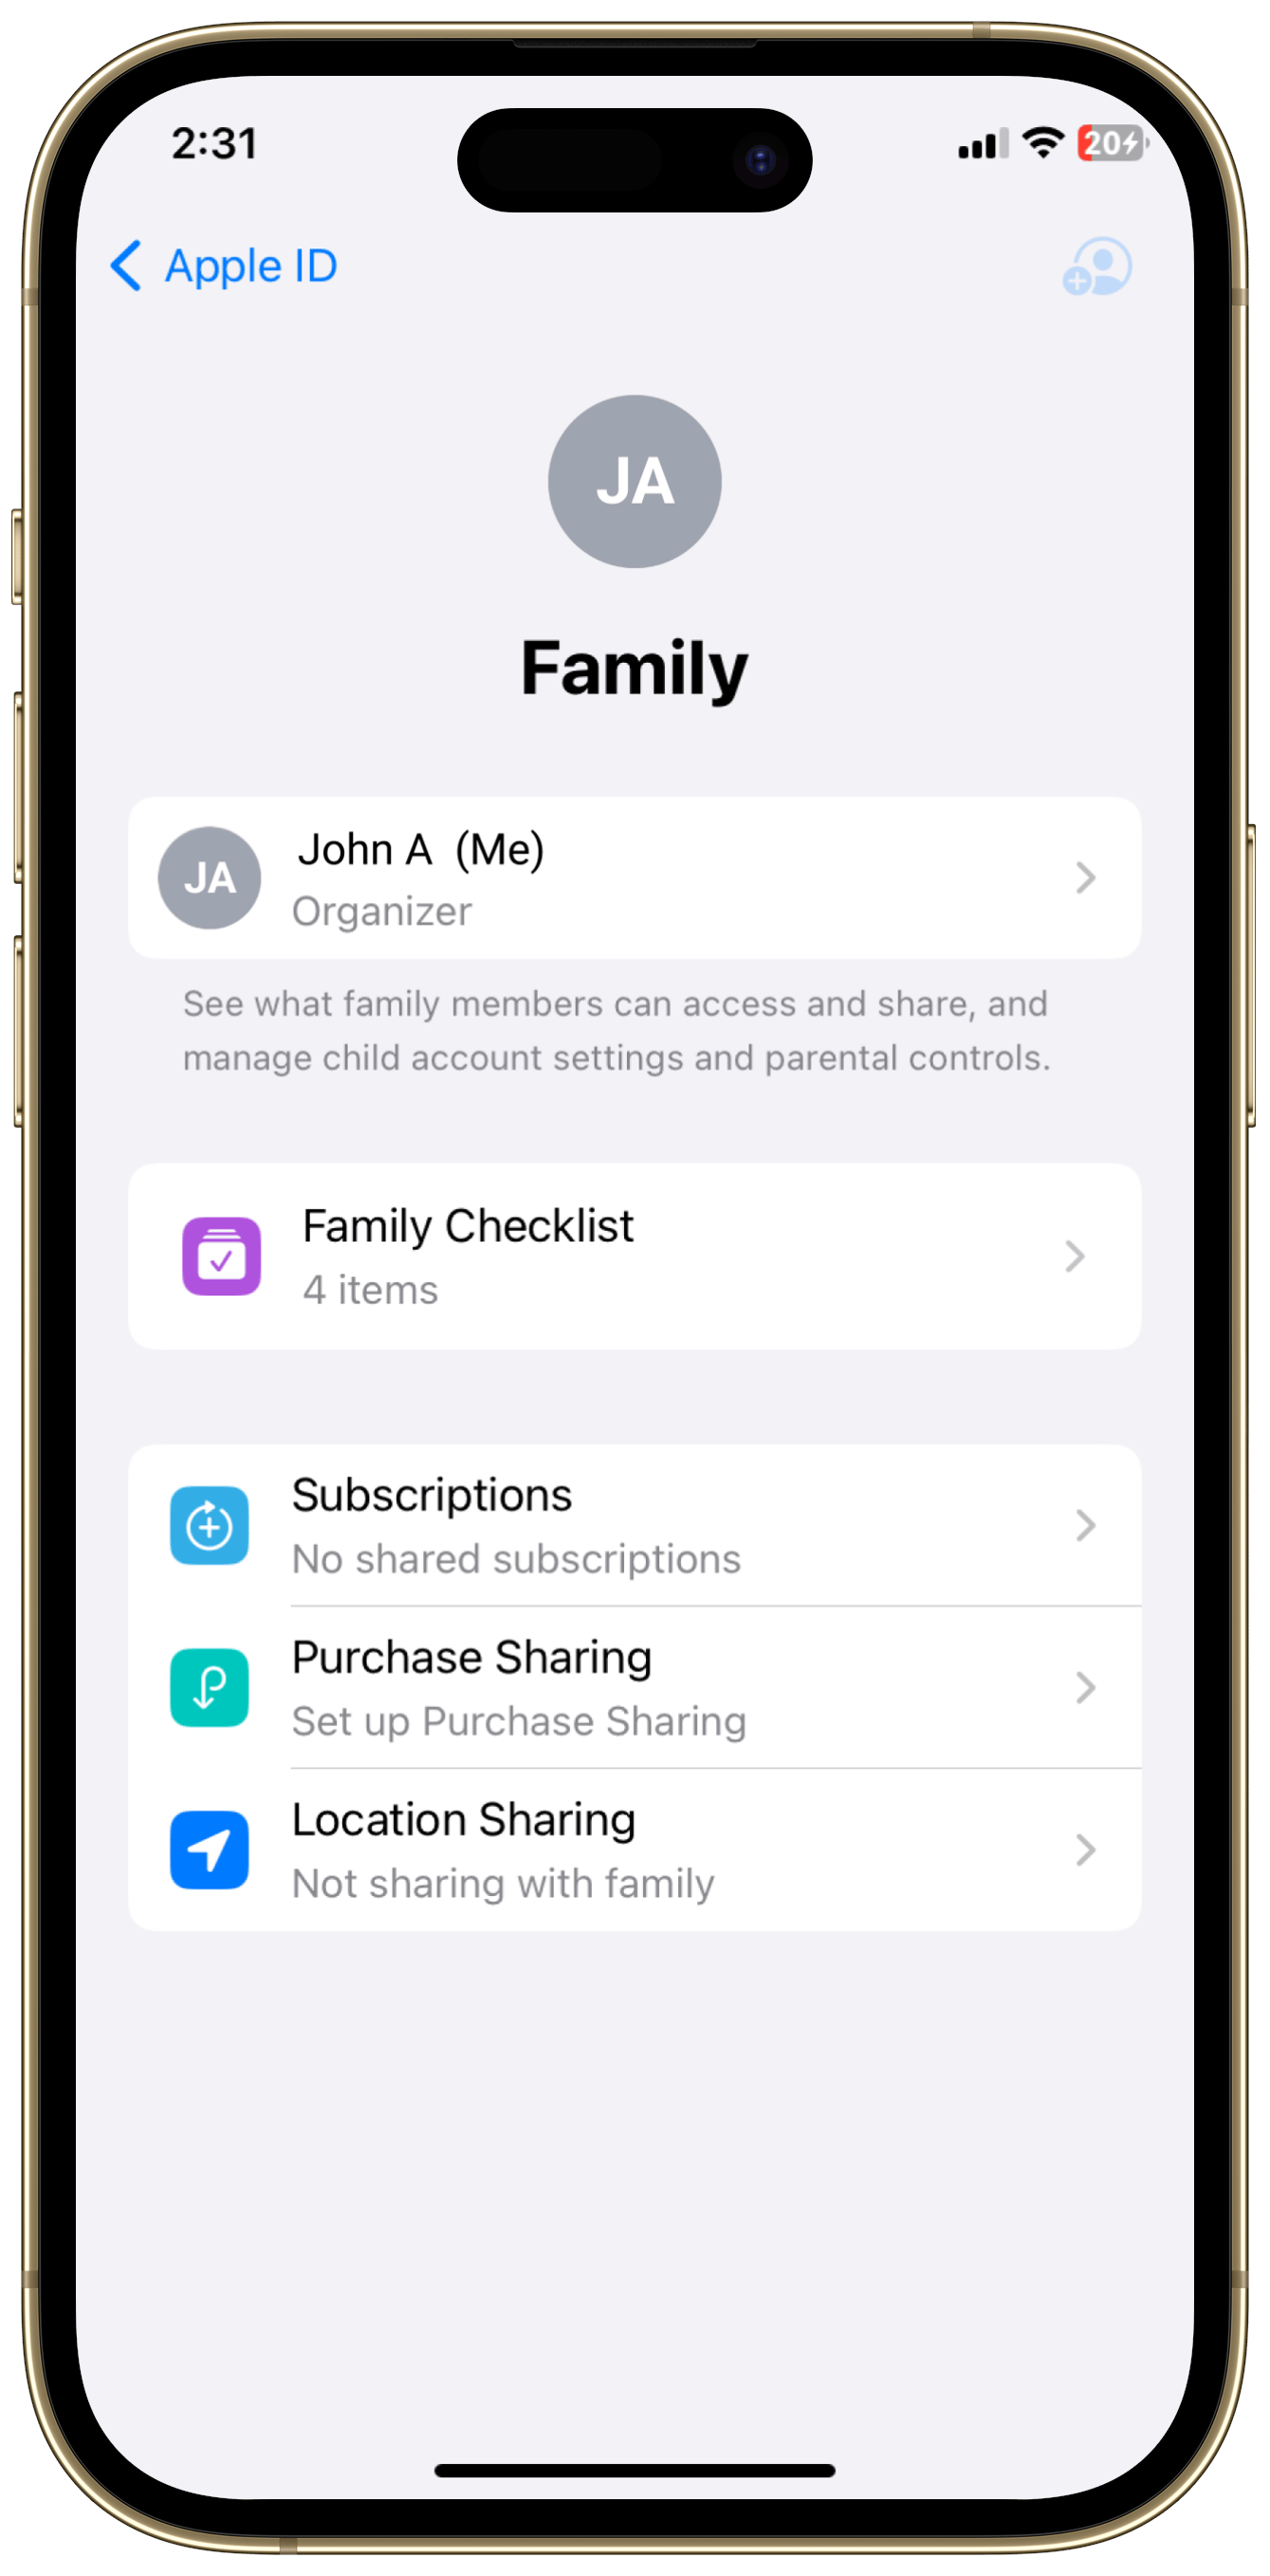
Tap “Create Child Account” and then tap “Continue”
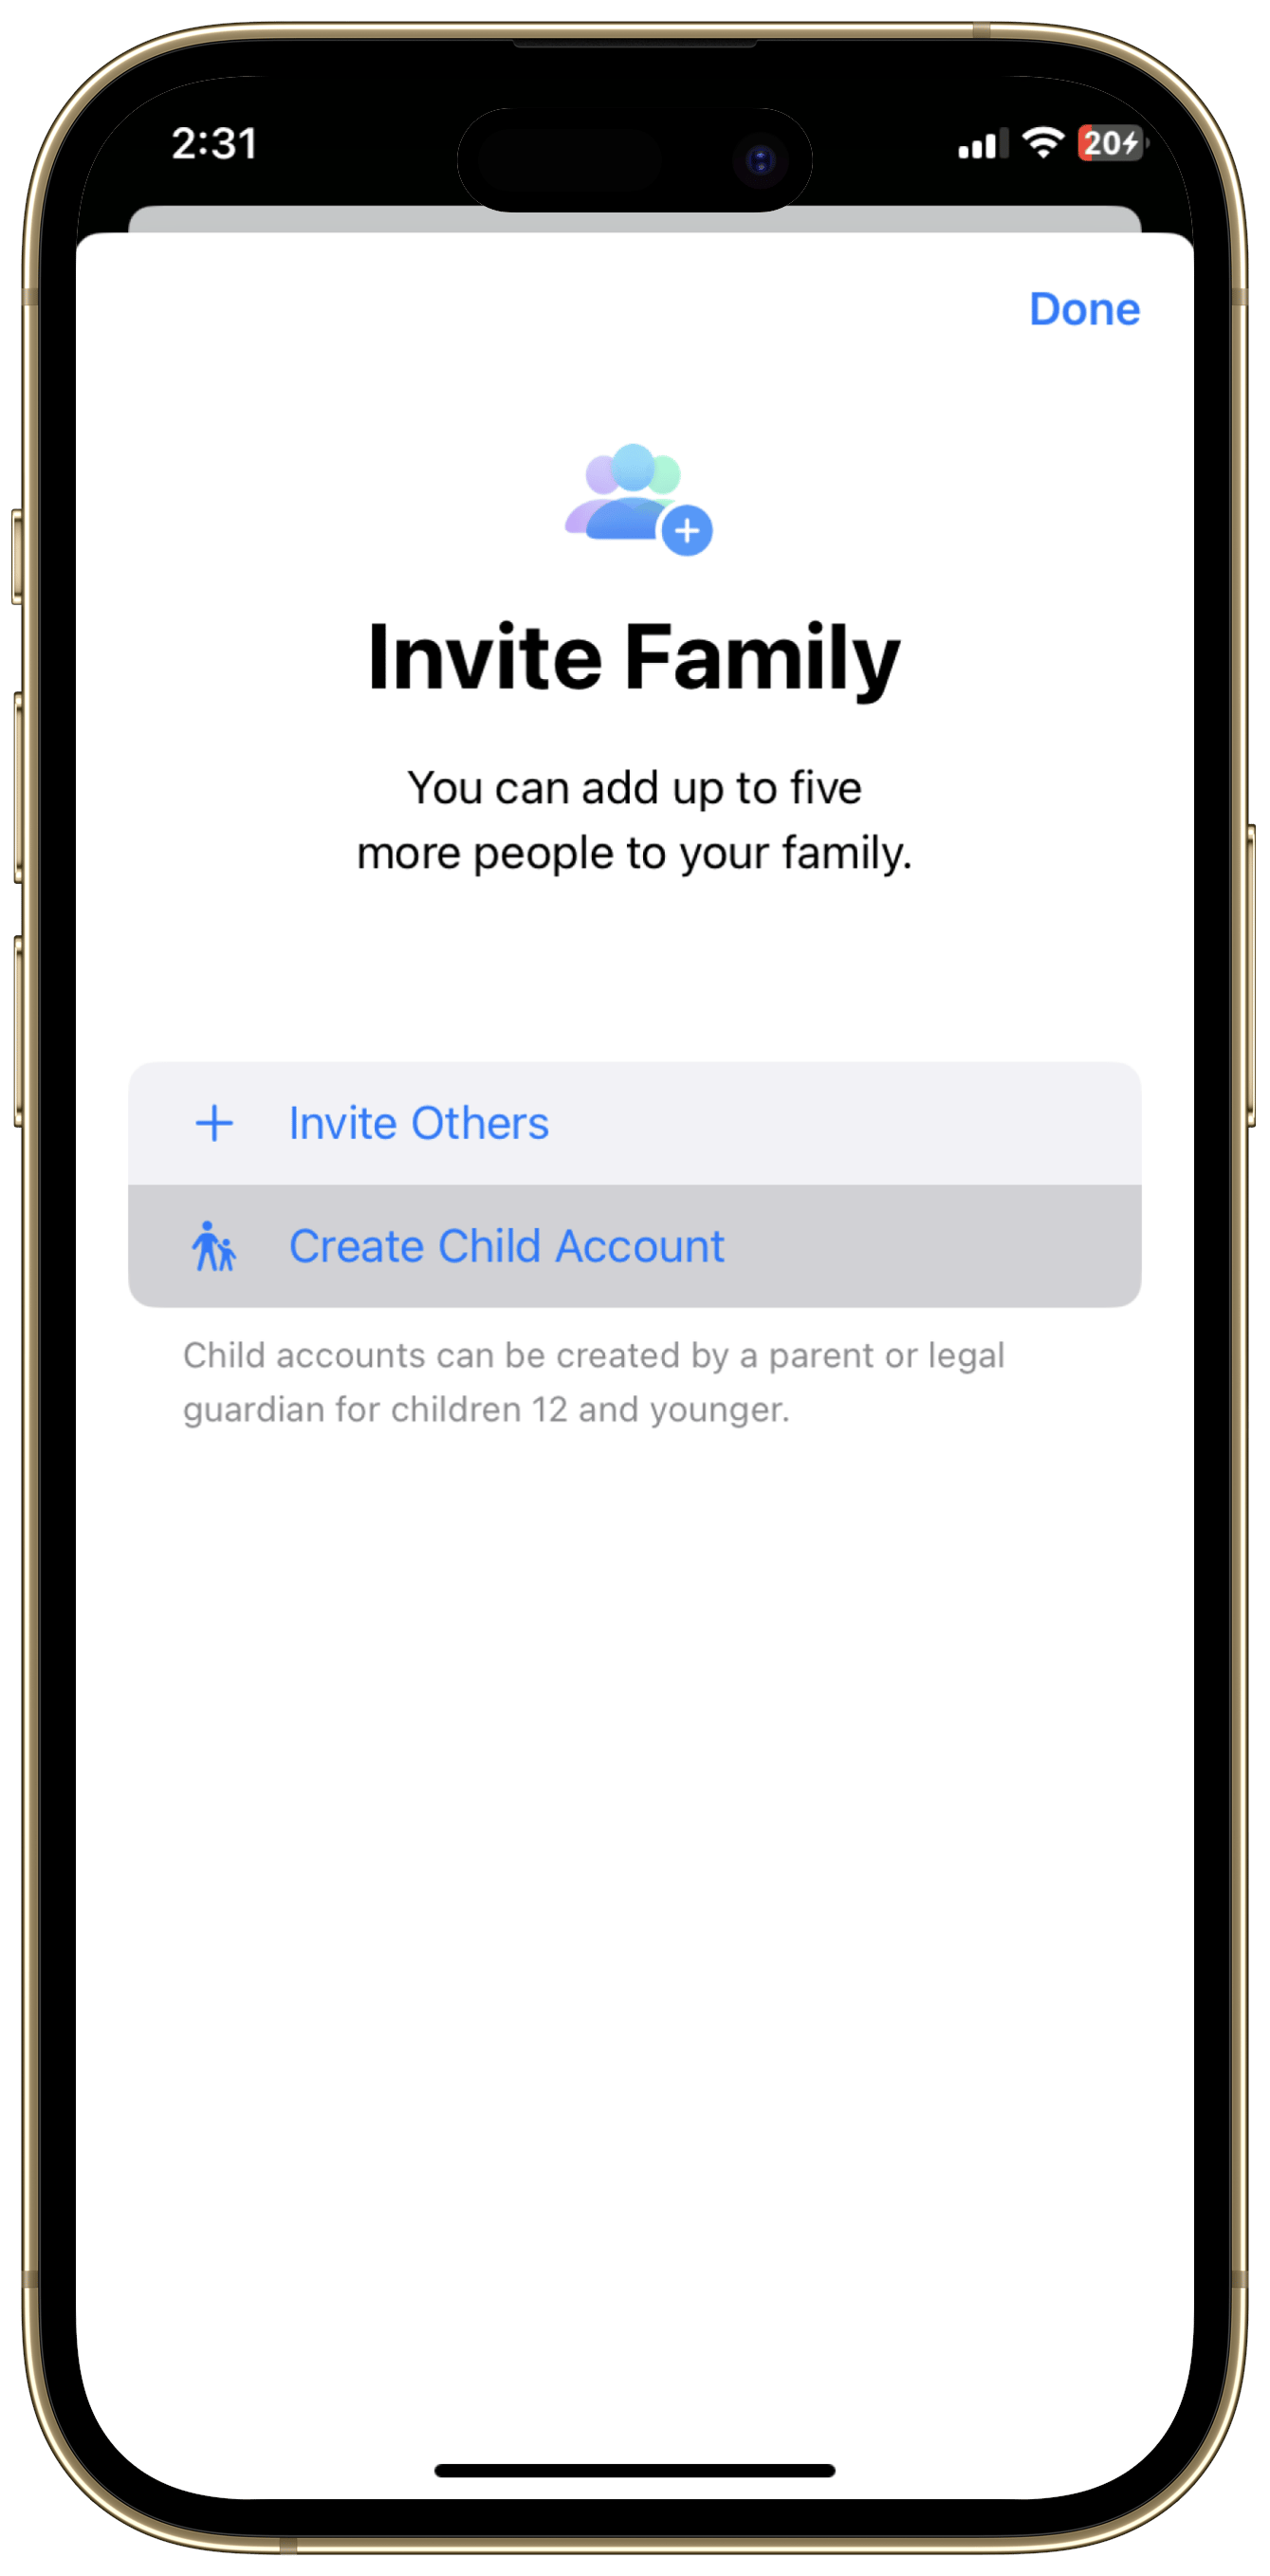
Enter Your Child’s Information:
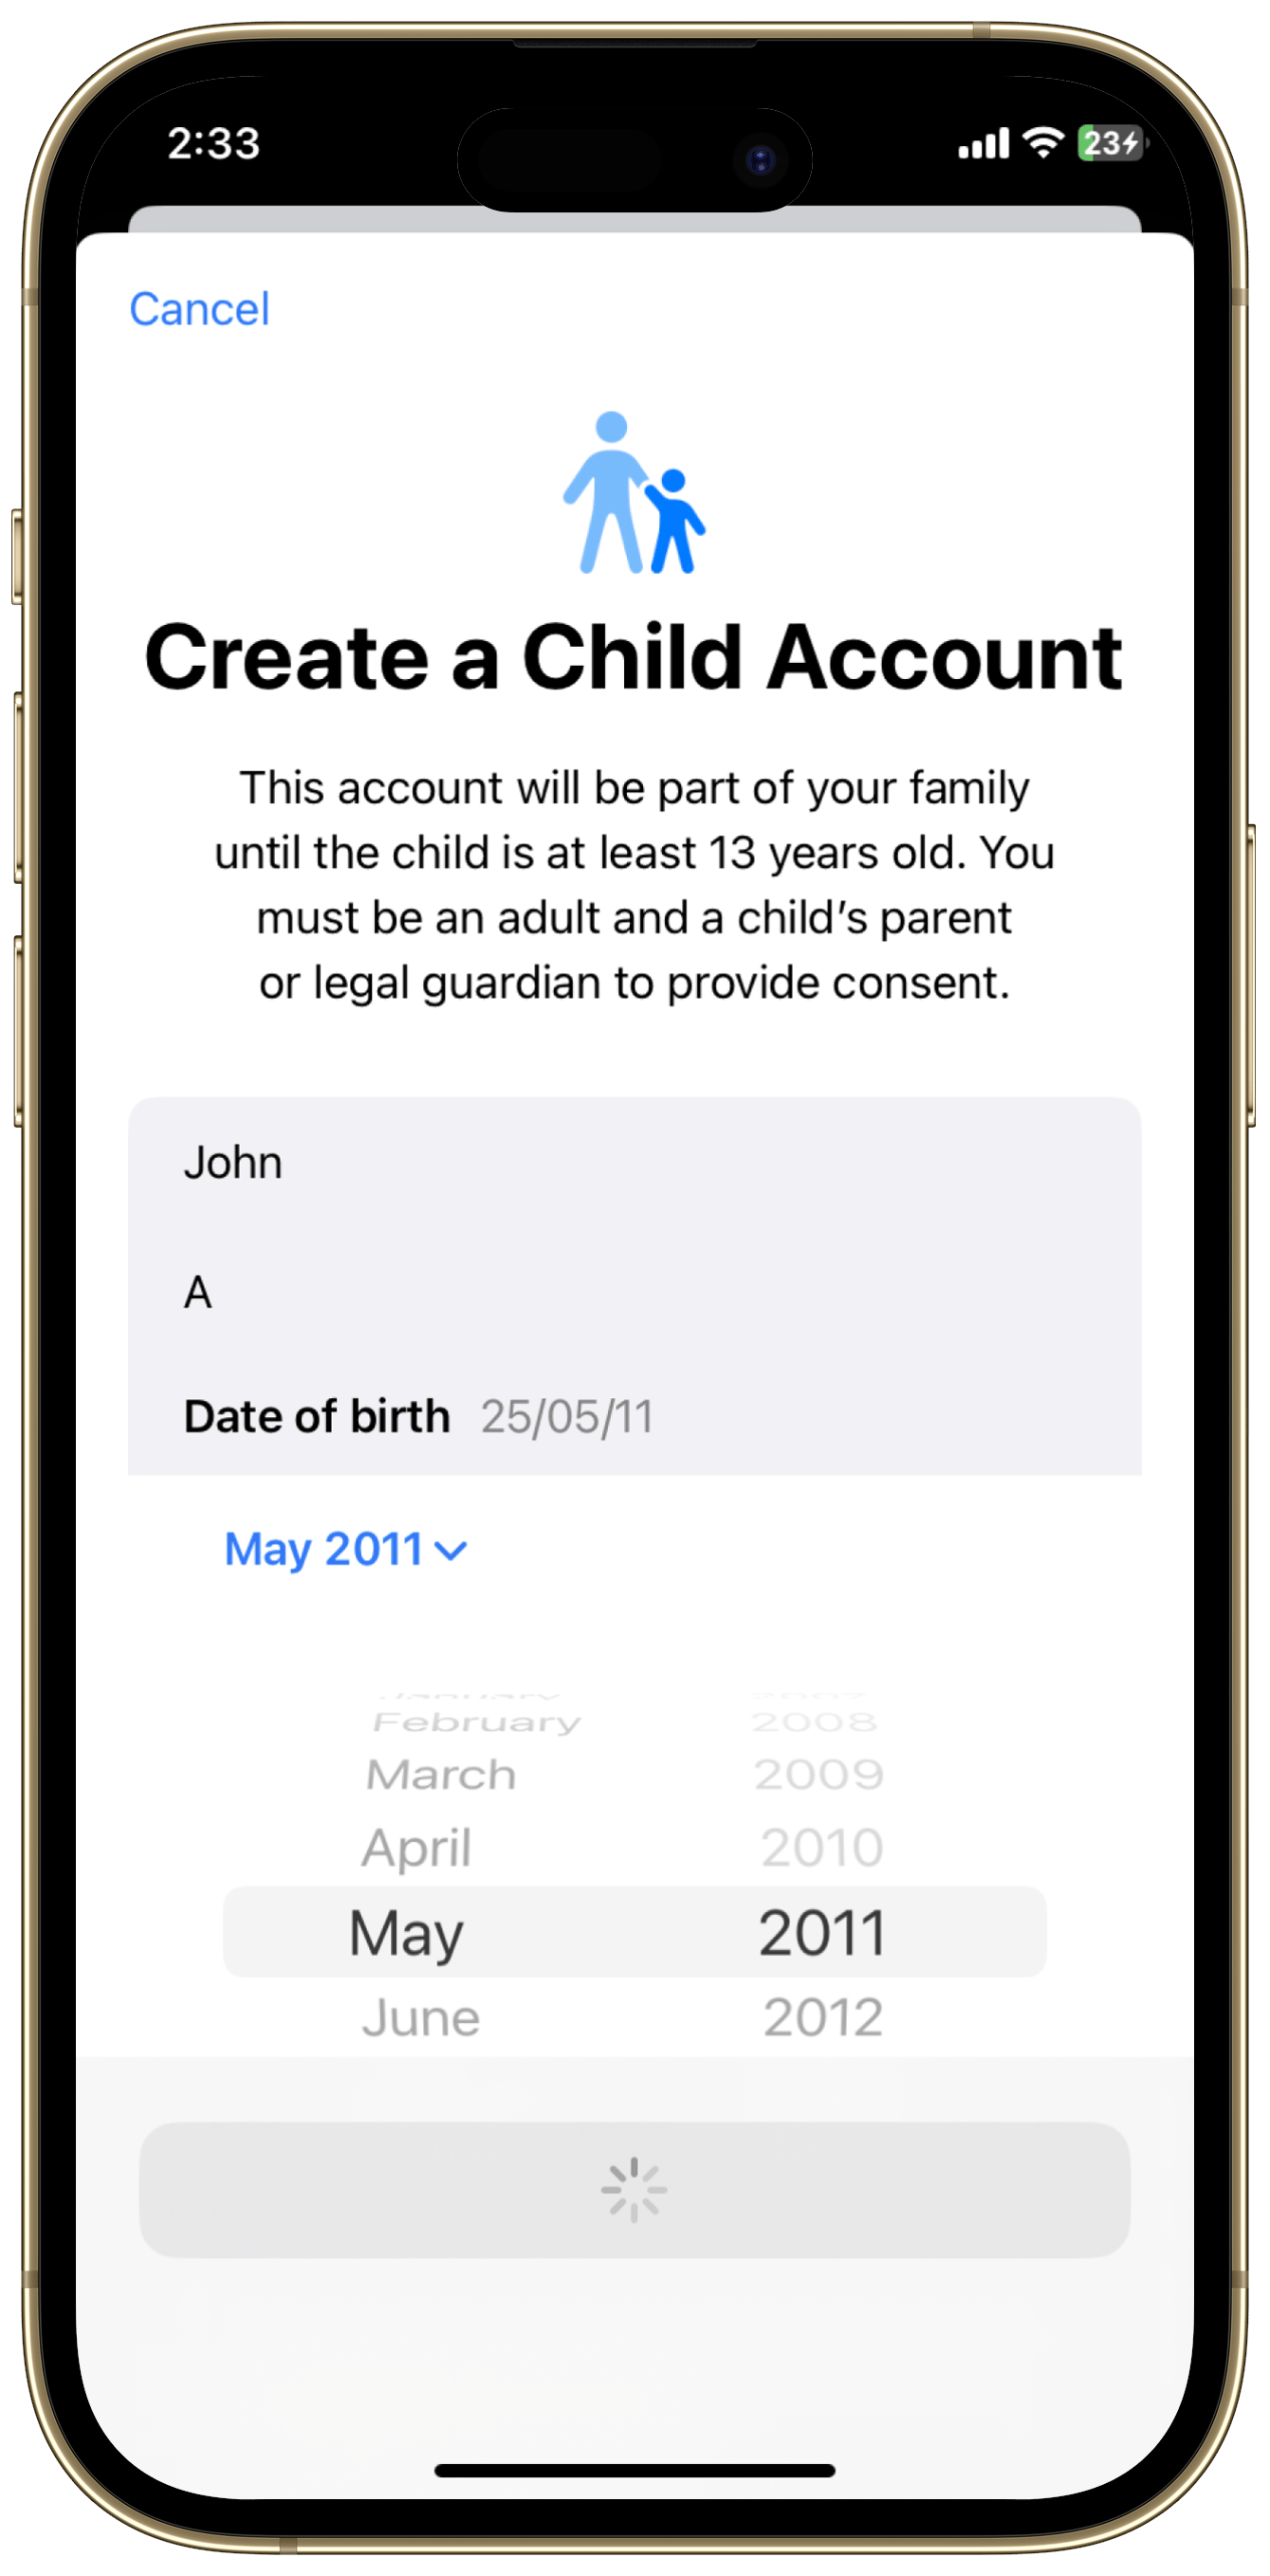
Enter the correct birth date (it can't be changed later).
Ensure this email is not already registered with Apple.
Enter your or your child’s phone number for verification.
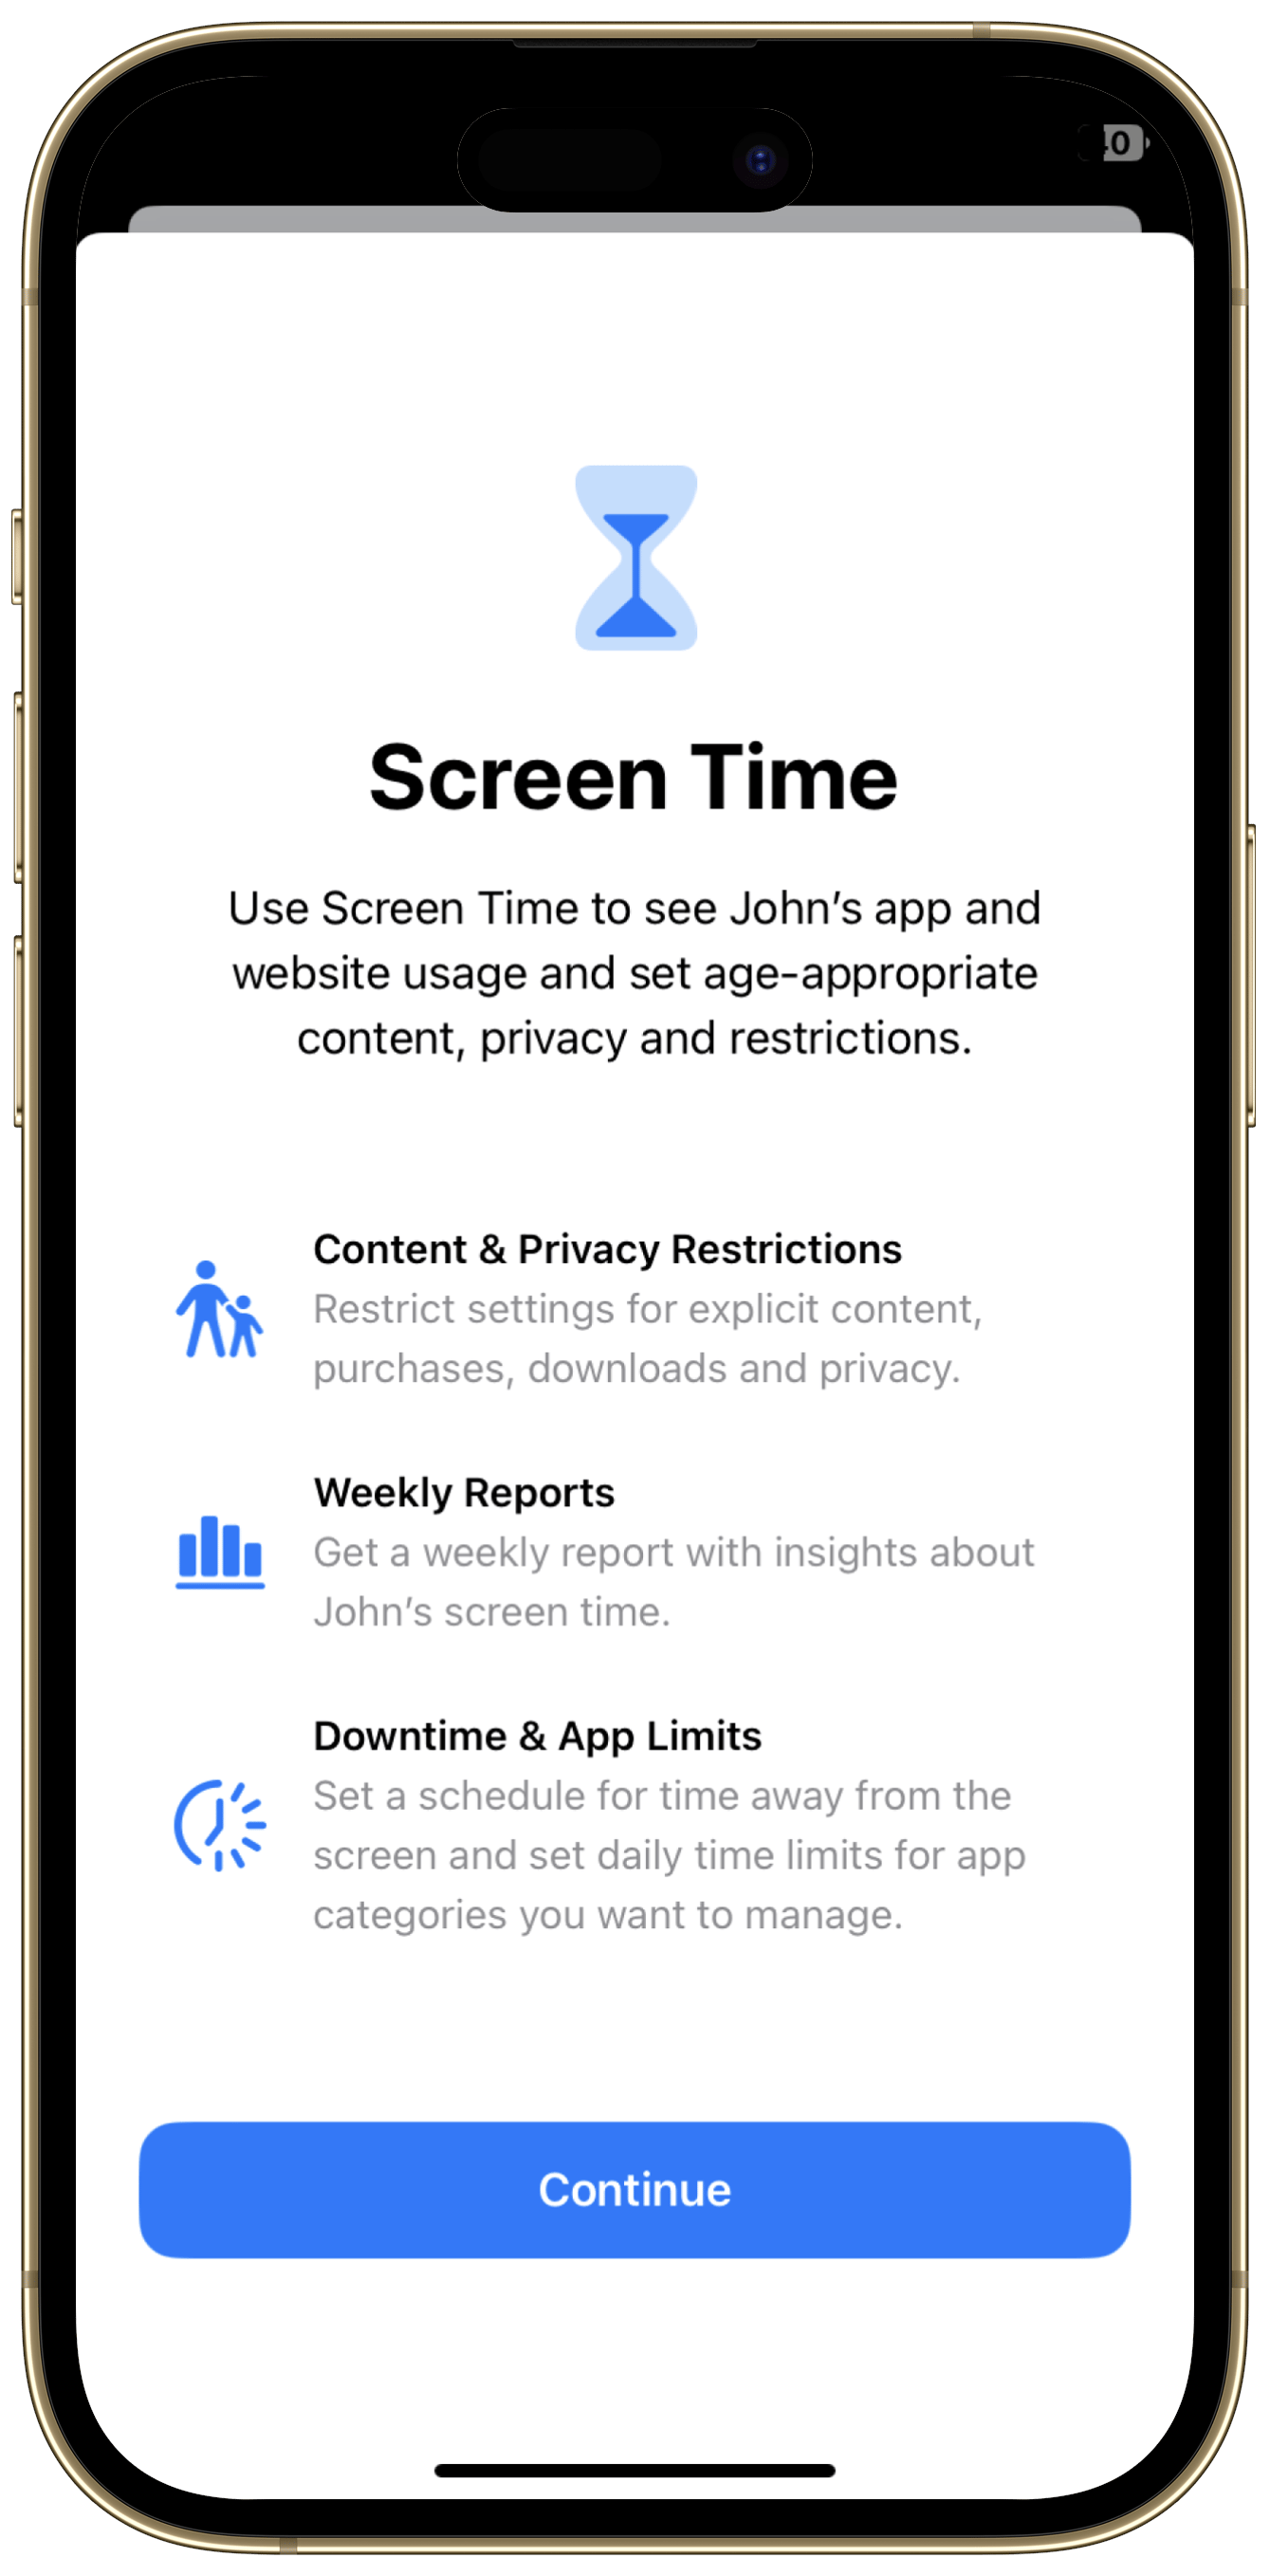
Screen Time Settings:
We recommend selecting "Set up later" on all screens.
Turn off “Ask to Buy”: We recommend selecting "Turn off".
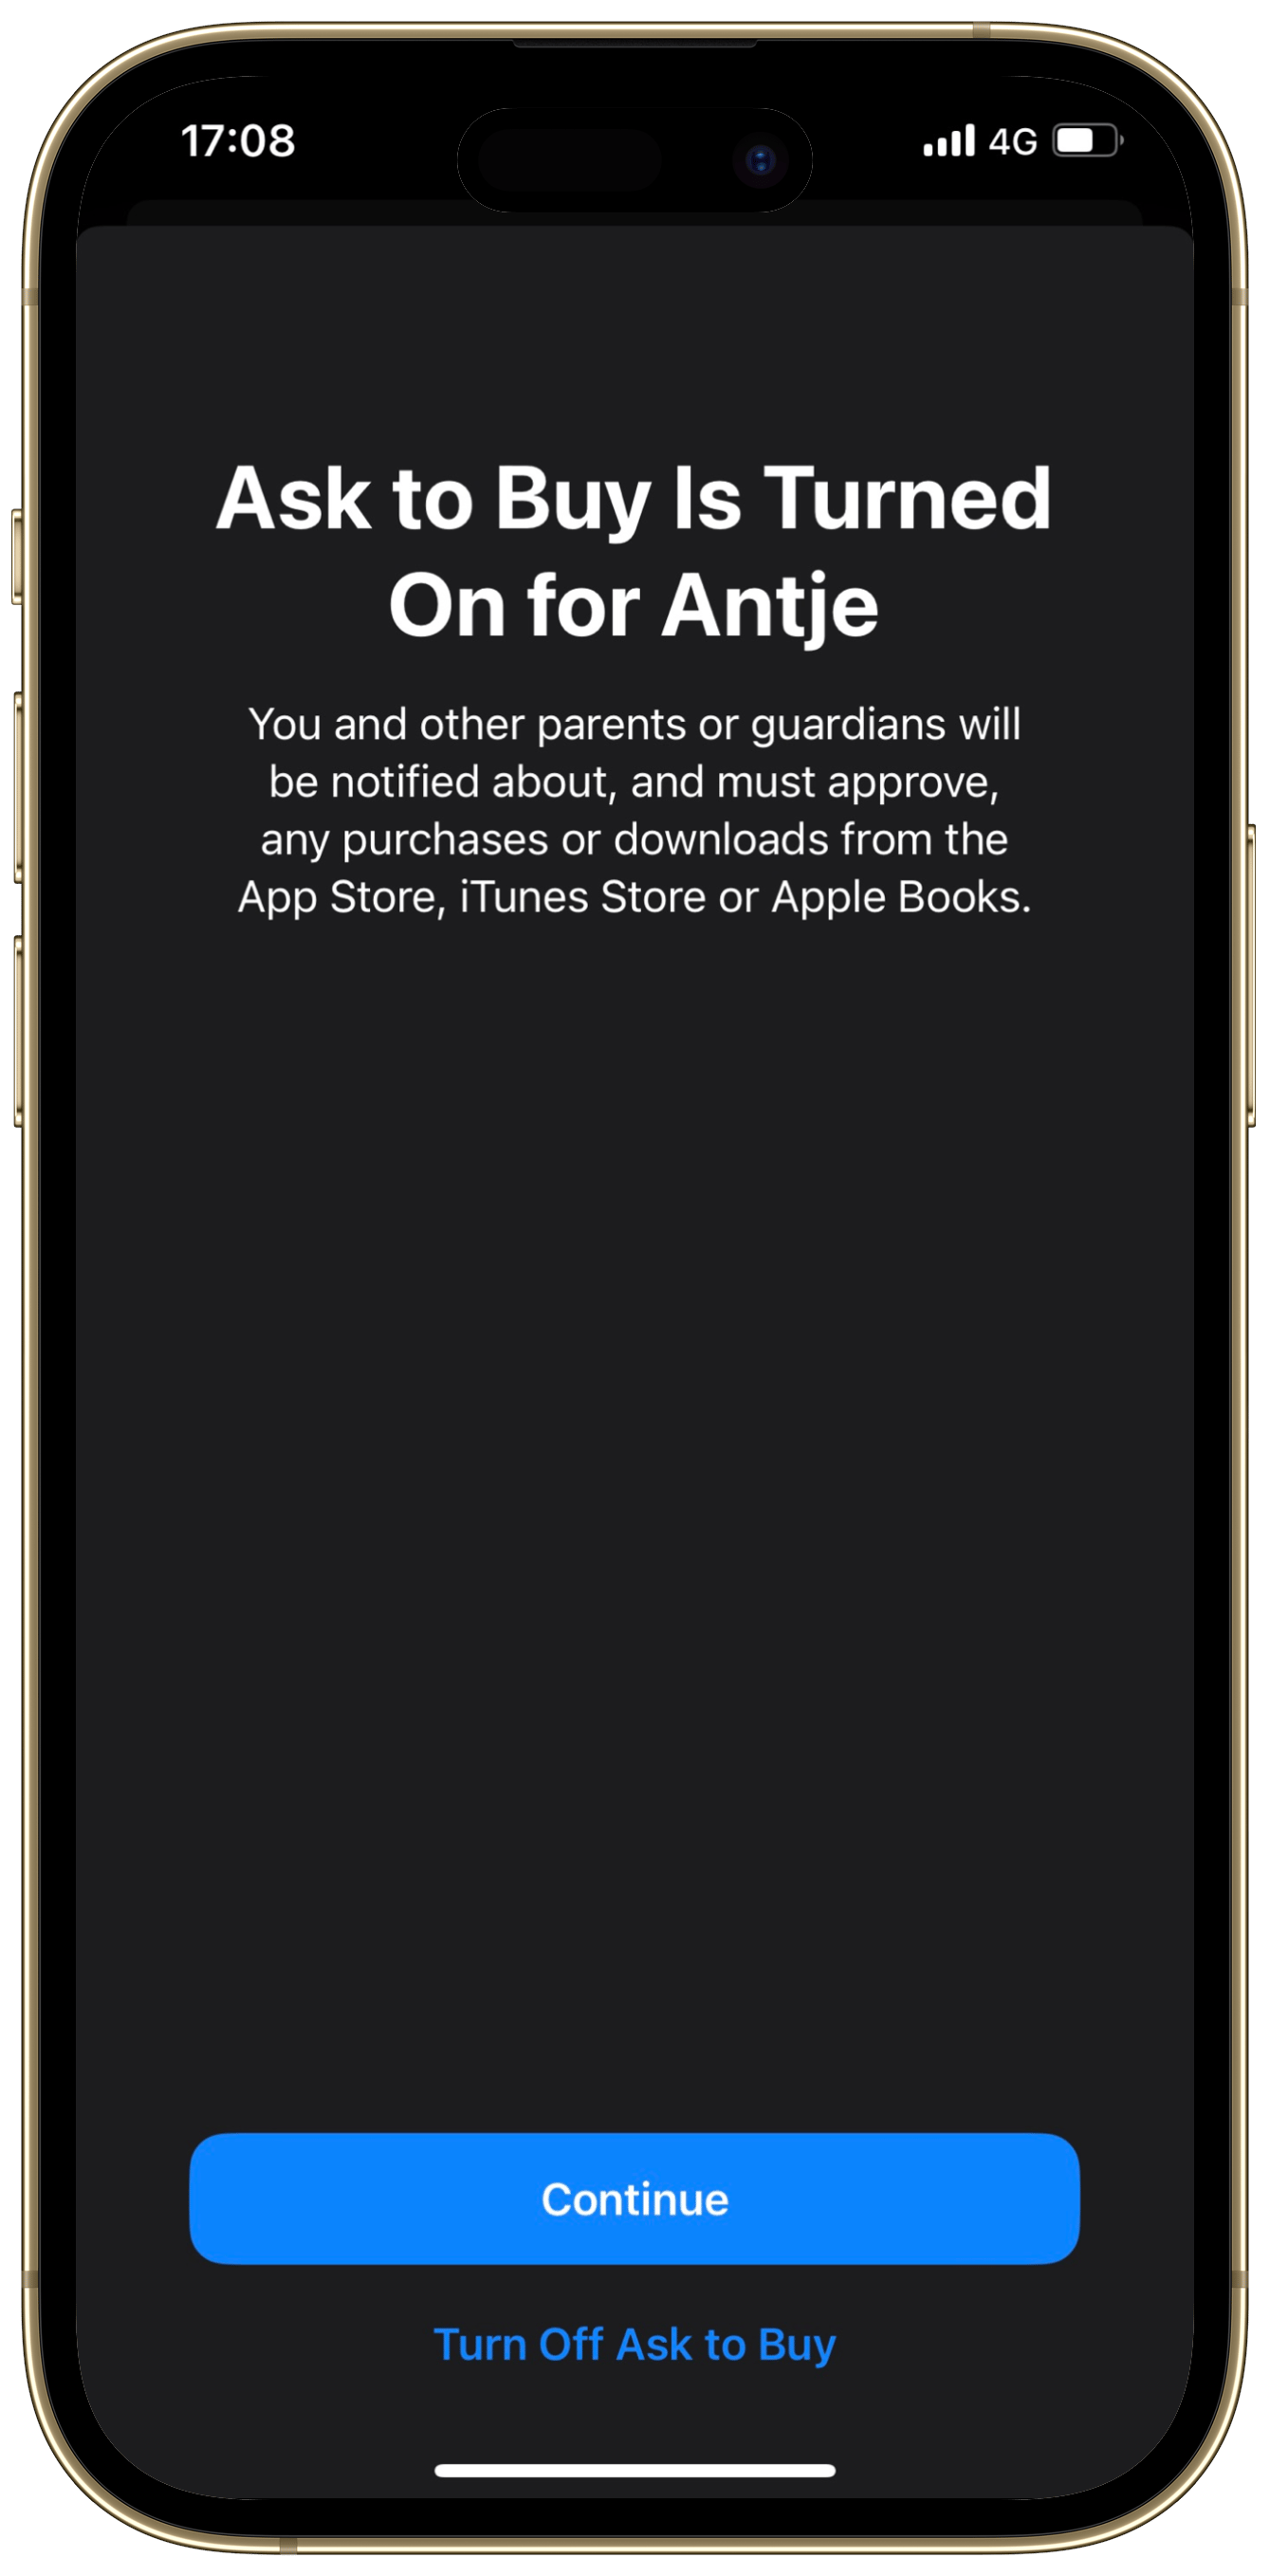
Skip any unnecessary steps.
Great! You’ve created the child-specific Apple ID and added it to Family Sharing. Now, let’s set up your child’s device.
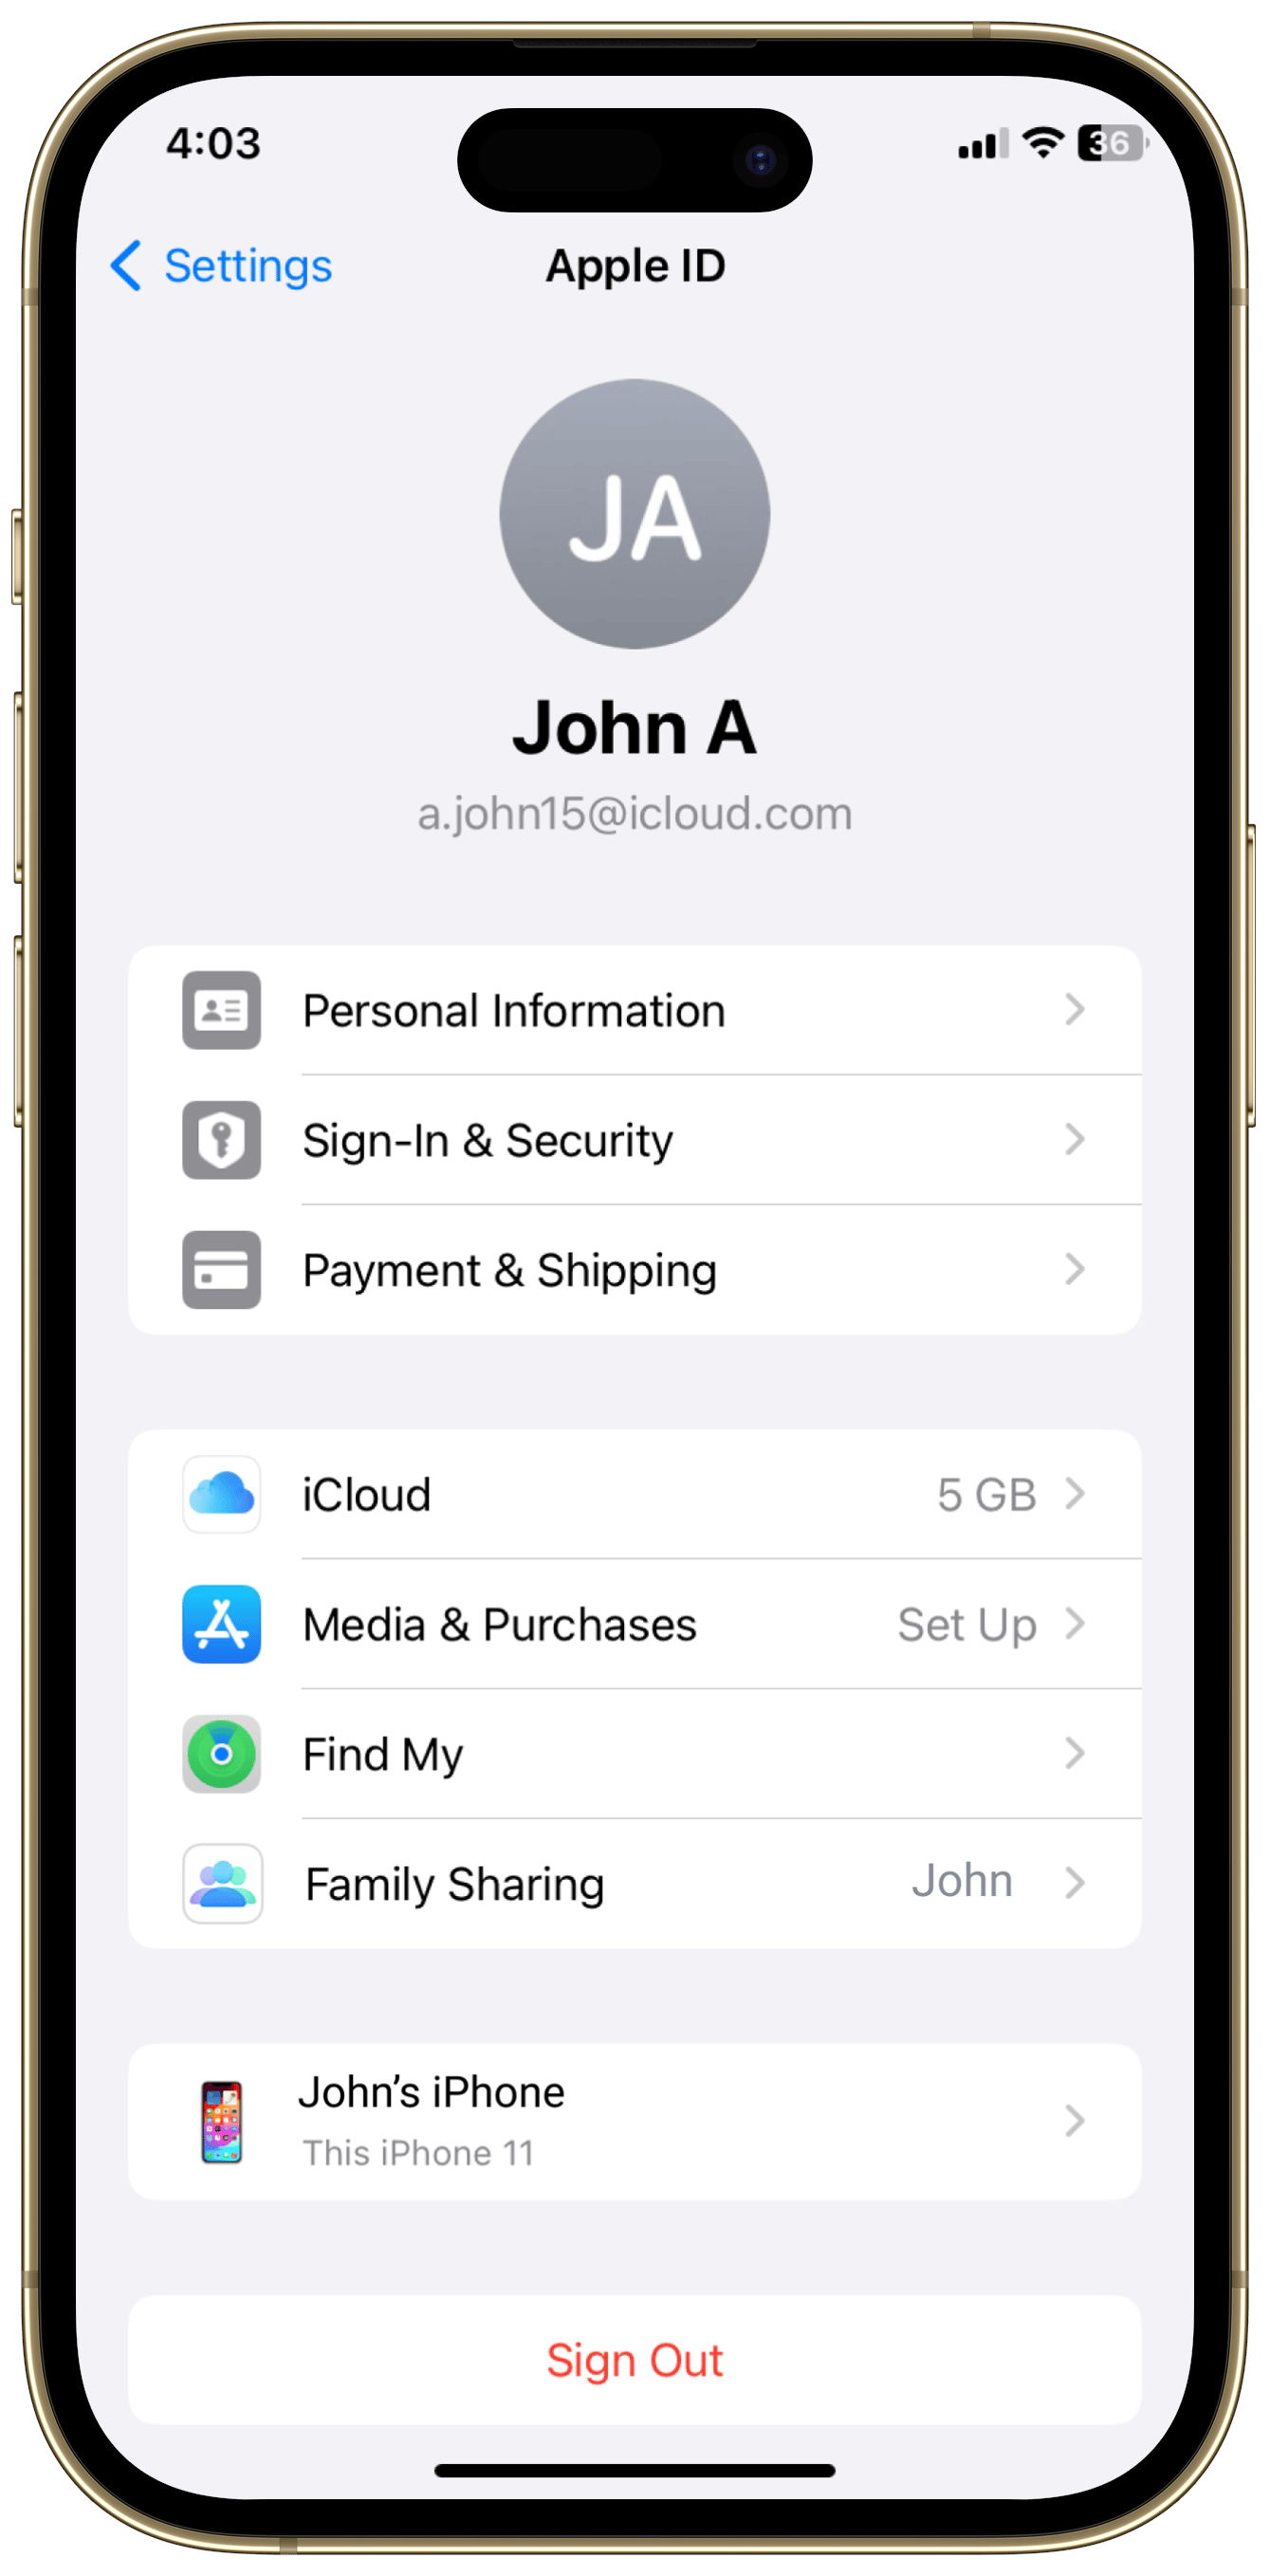
Step 2 : On Your Child’s Device
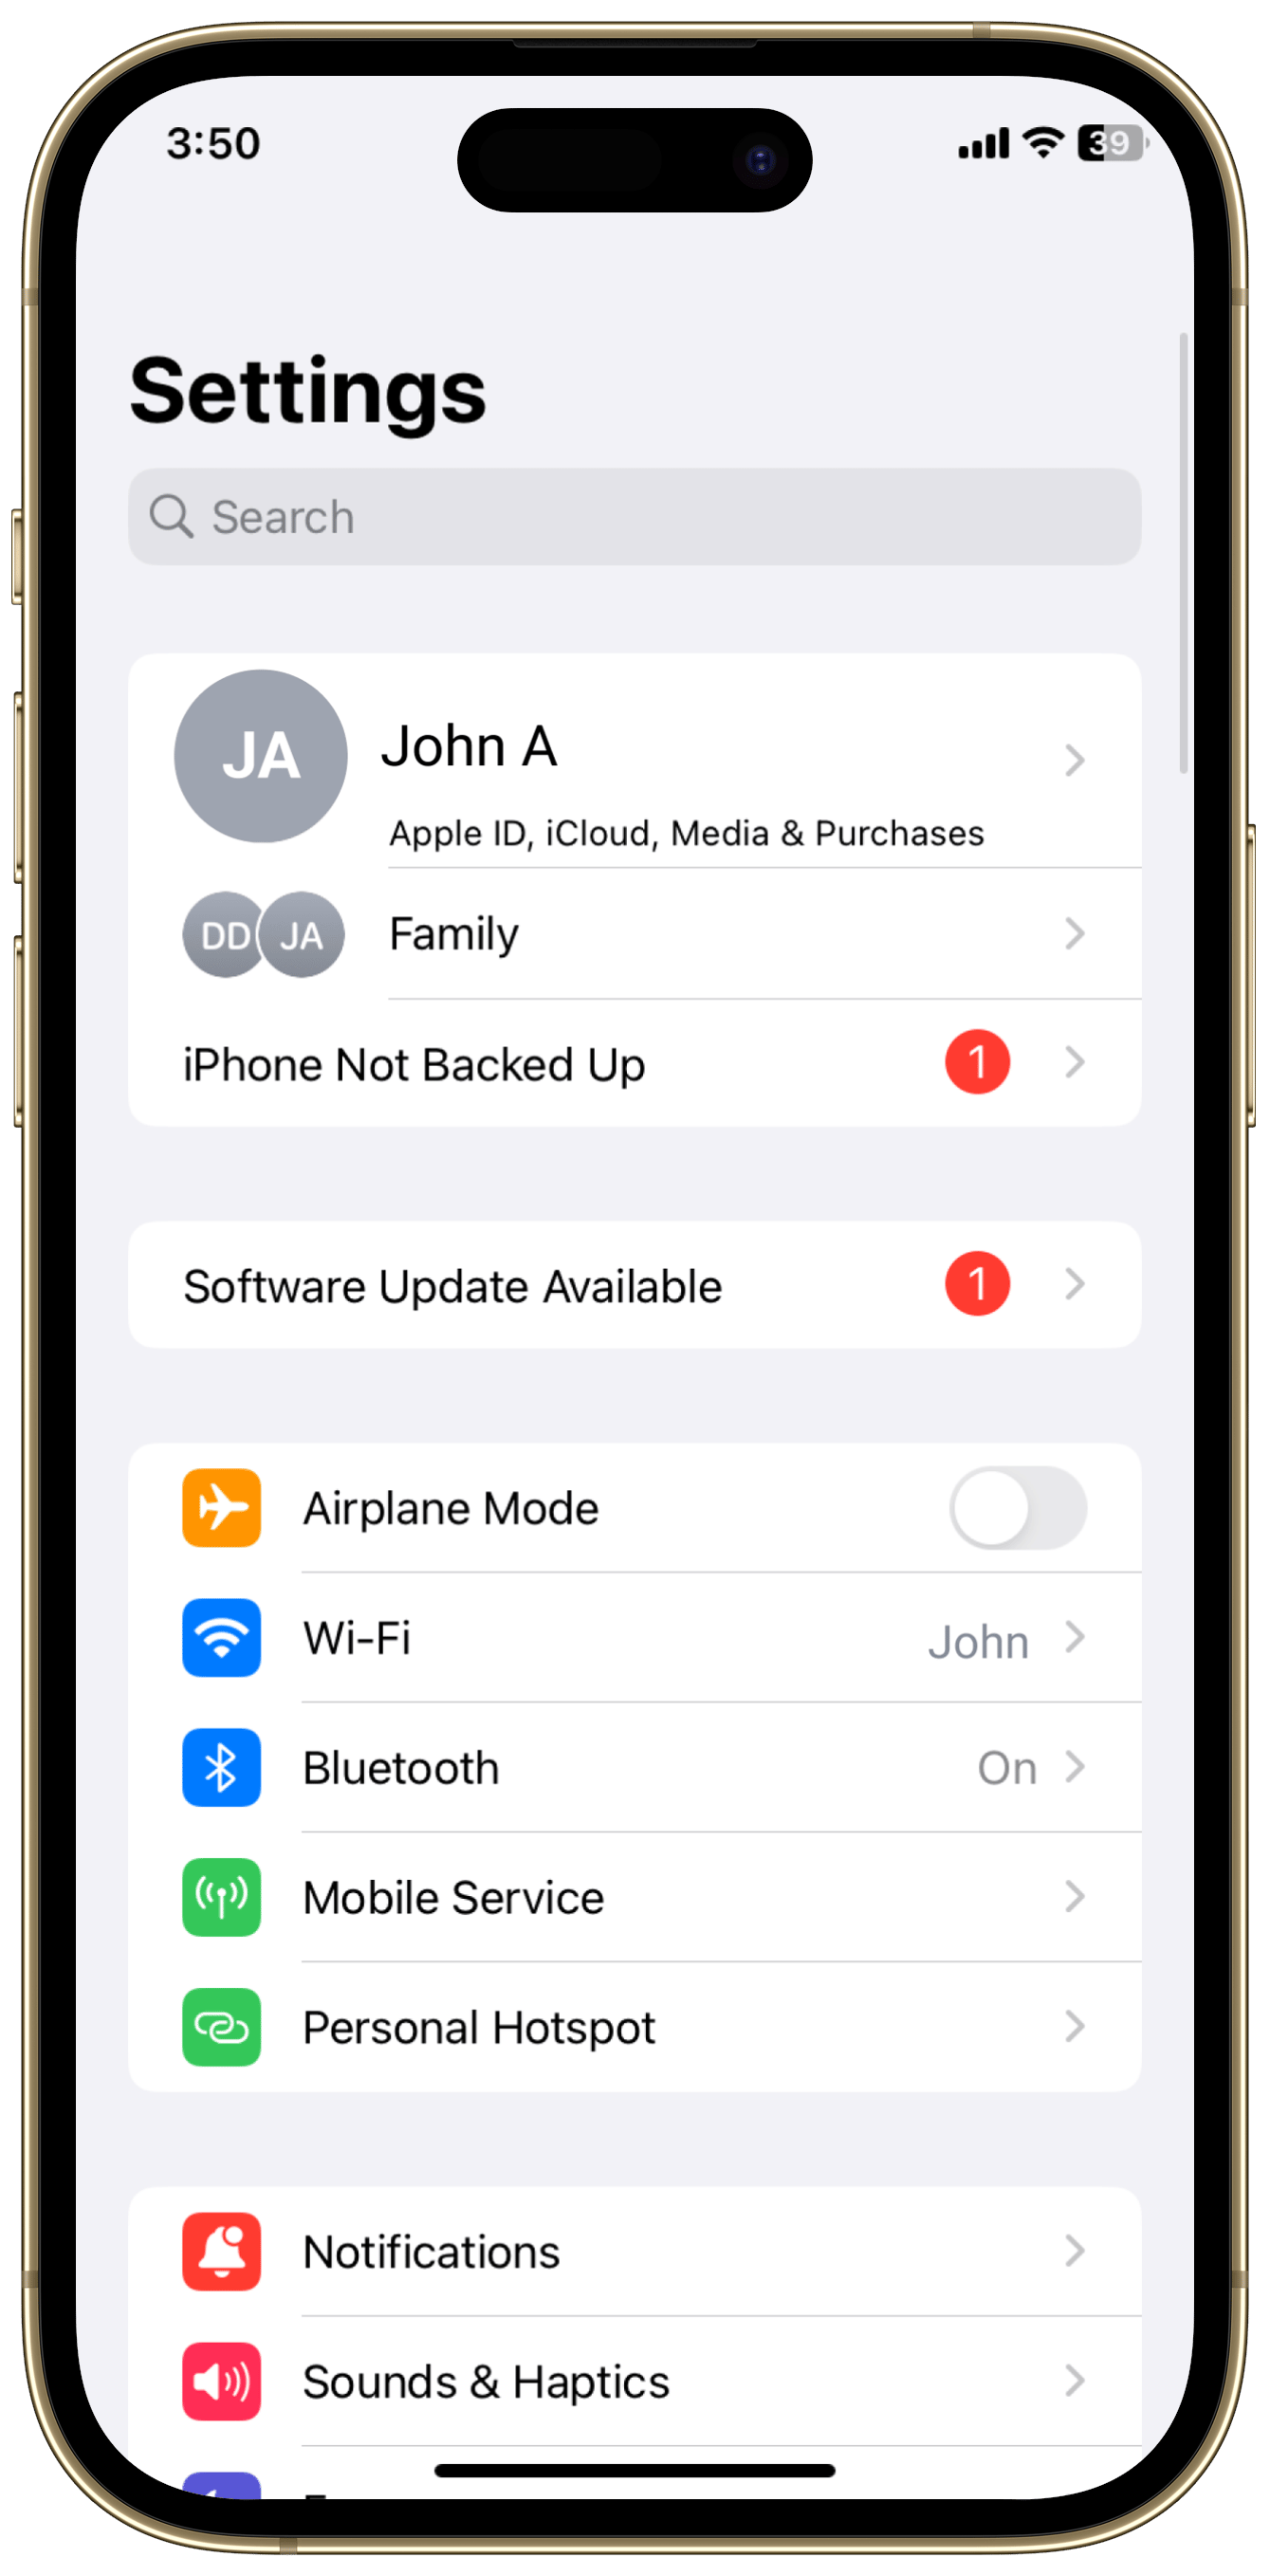
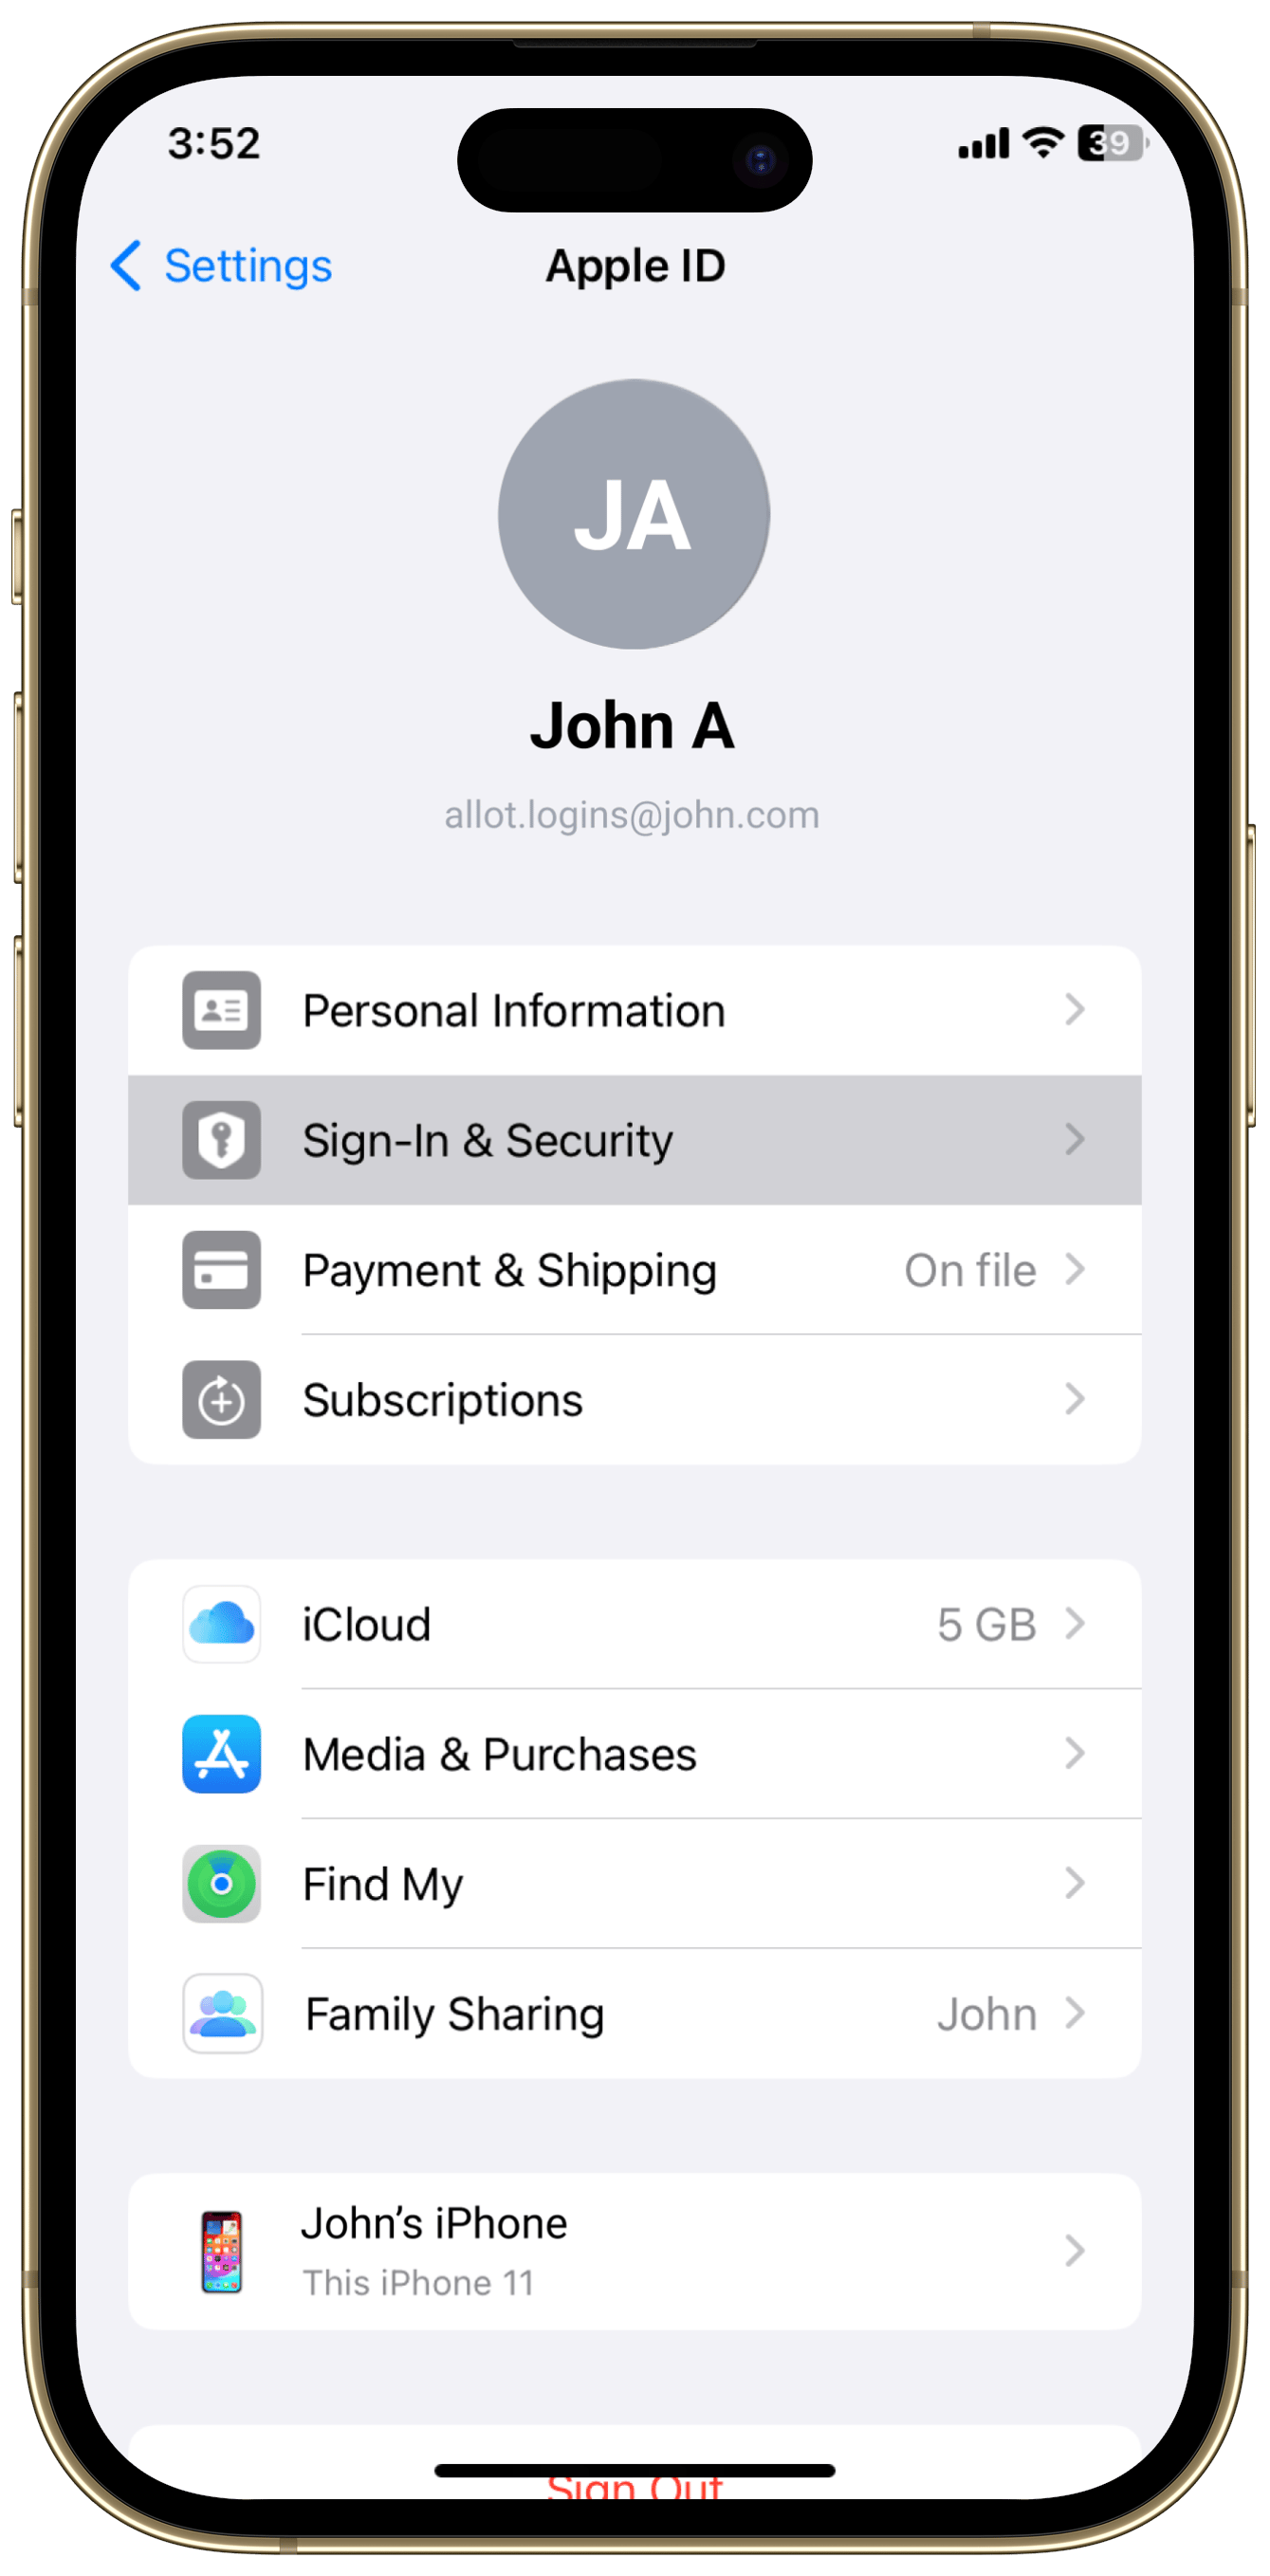
Open Settings

Tap your child’s Apple ID
Scroll down and tap “Sign Out” from the current account.
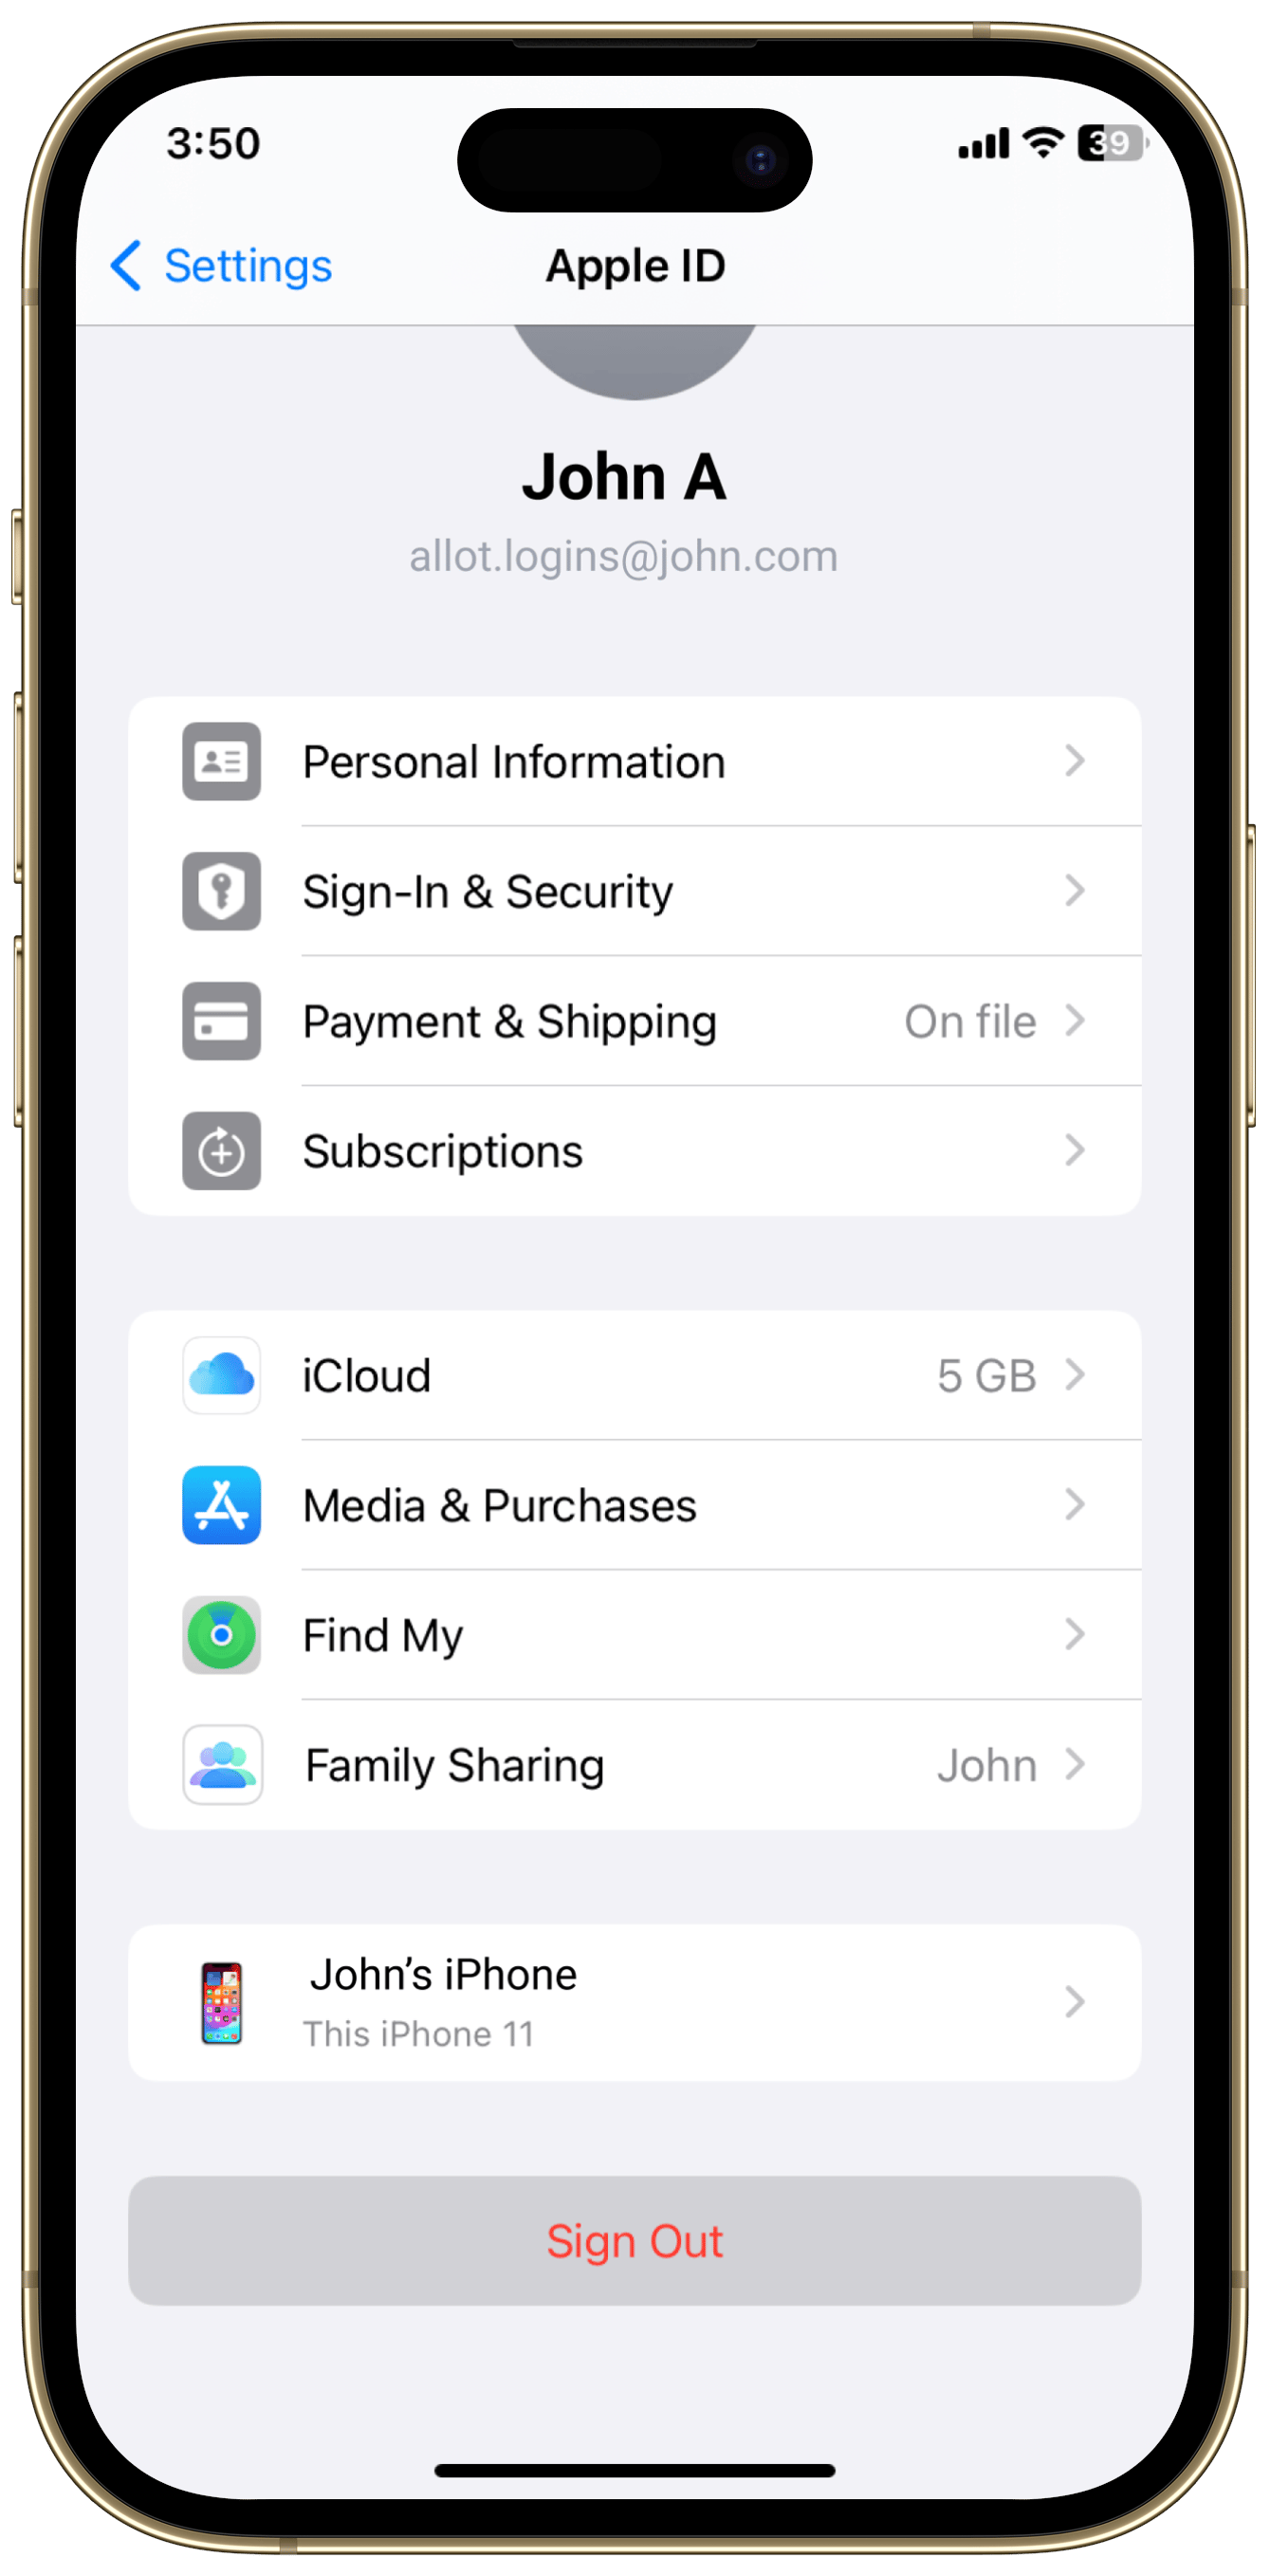
Sign in with the new child-specific Apple ID and password.
Open the Child Application to complete the installation.
Step 3: Finish the Installation on the Child Device
Tap “Continue” to allow access to Screen Time.

Screen Time will be approved by Apple.

Allow Filter Network Content.
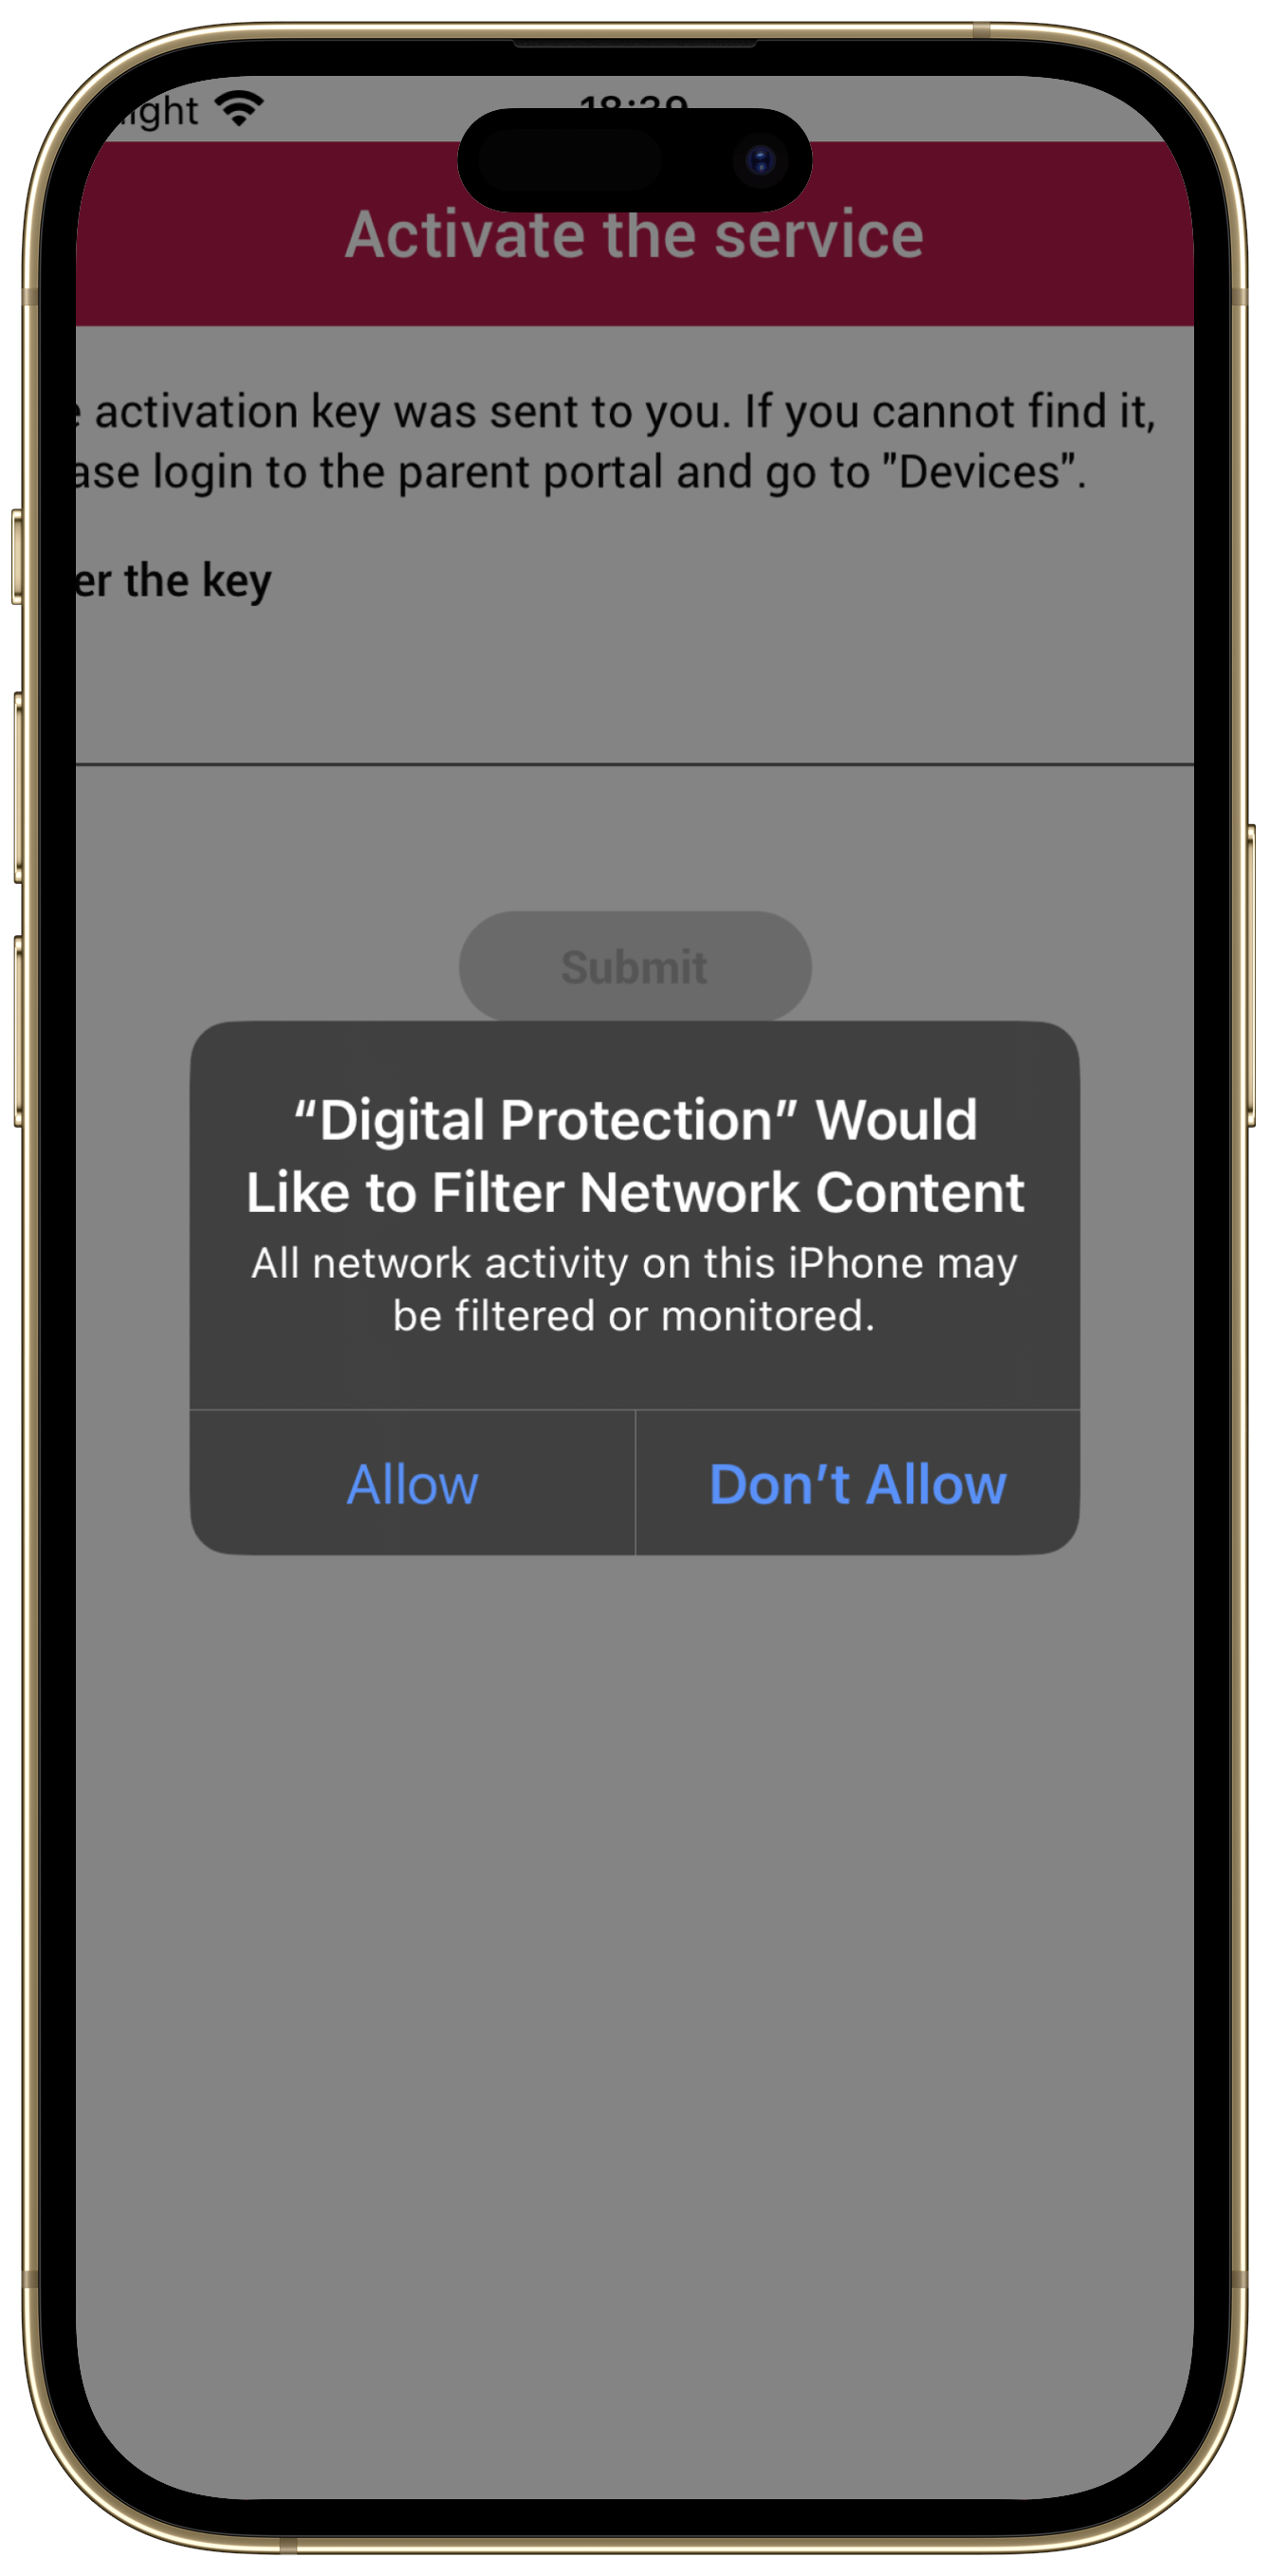
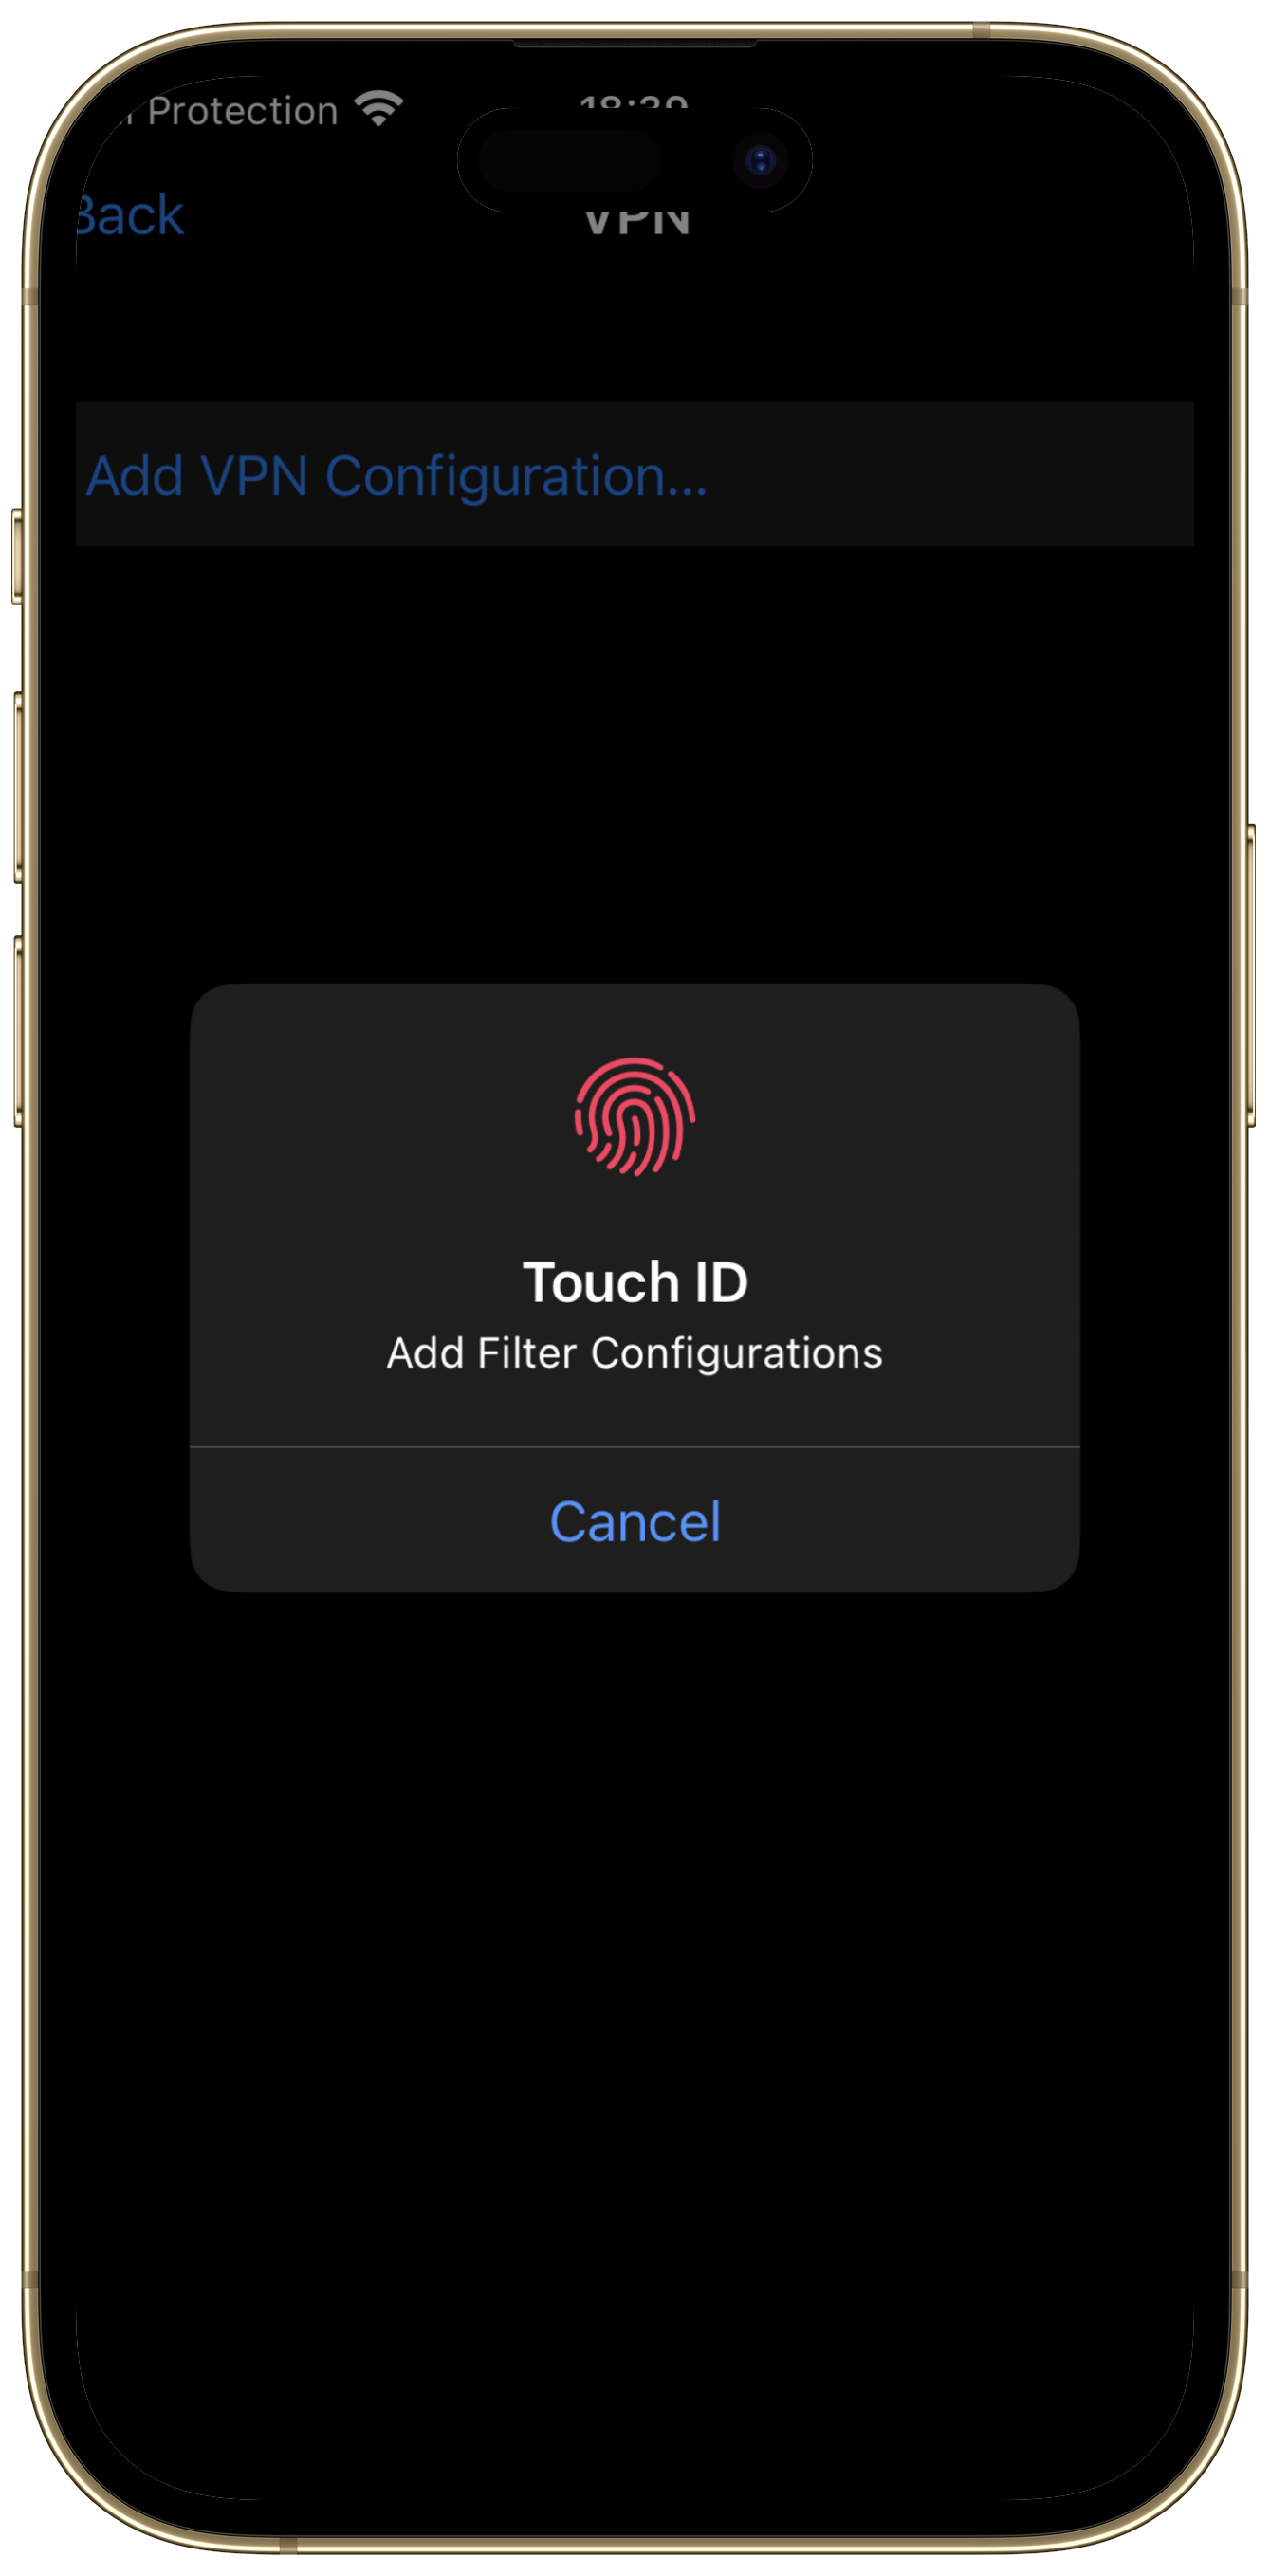
Approve with Touch ID or enter the device’s passcode.
Enable these settings.
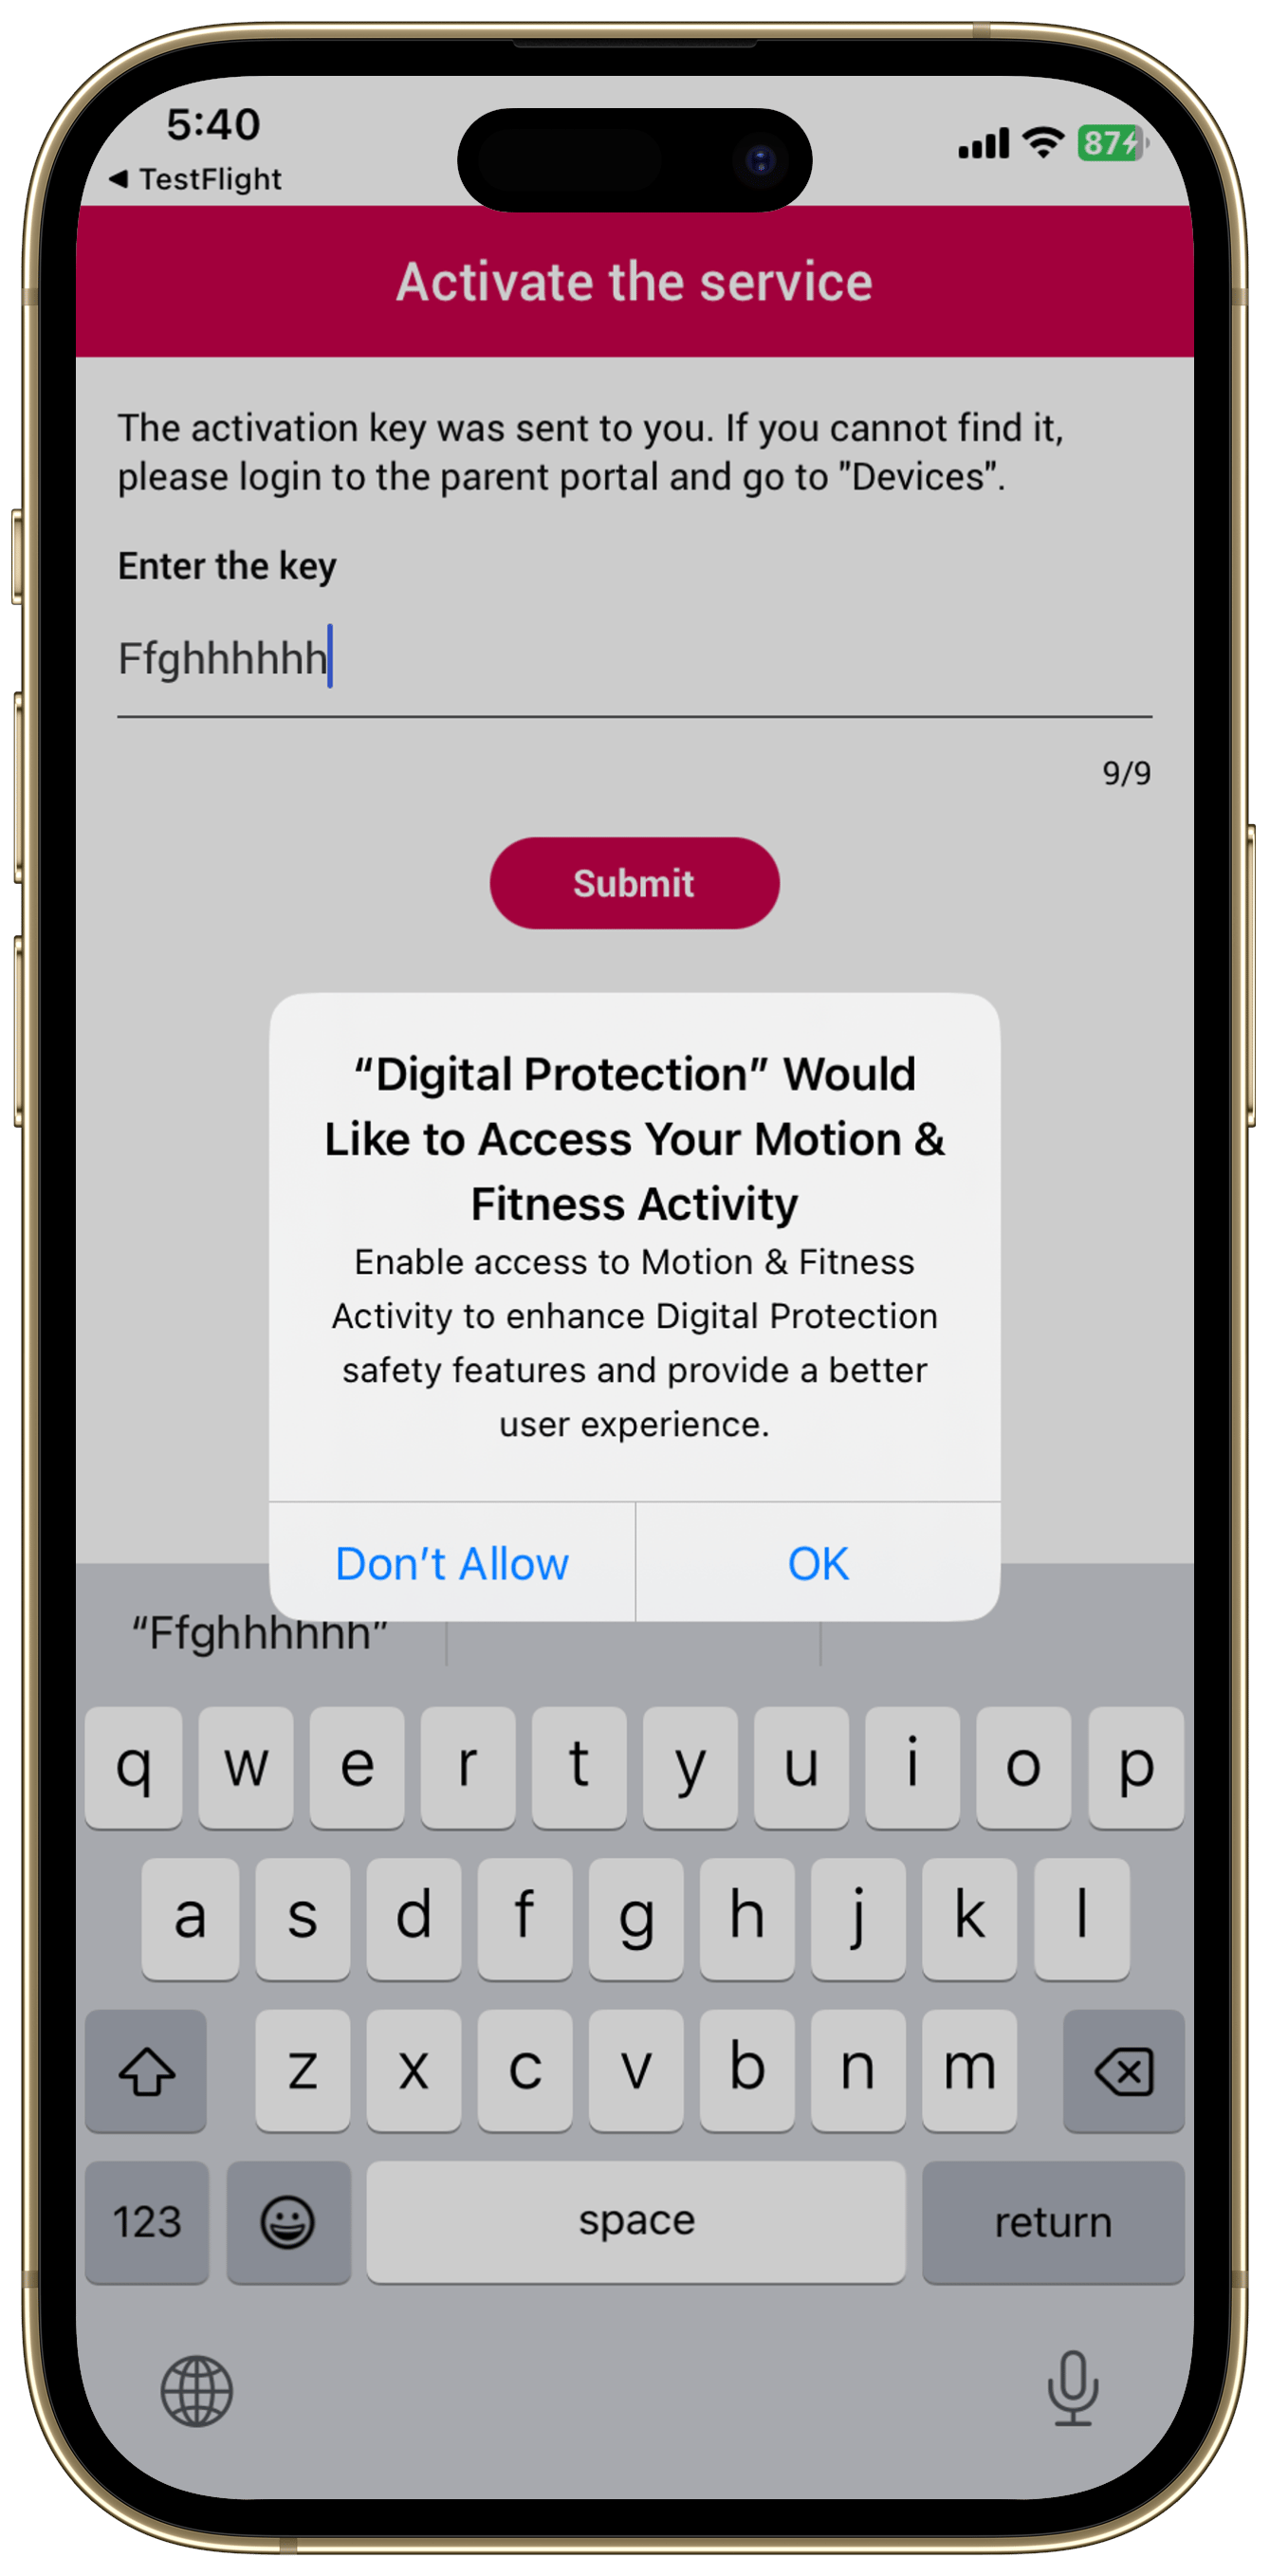
Set location access to “Always” on the following screens.
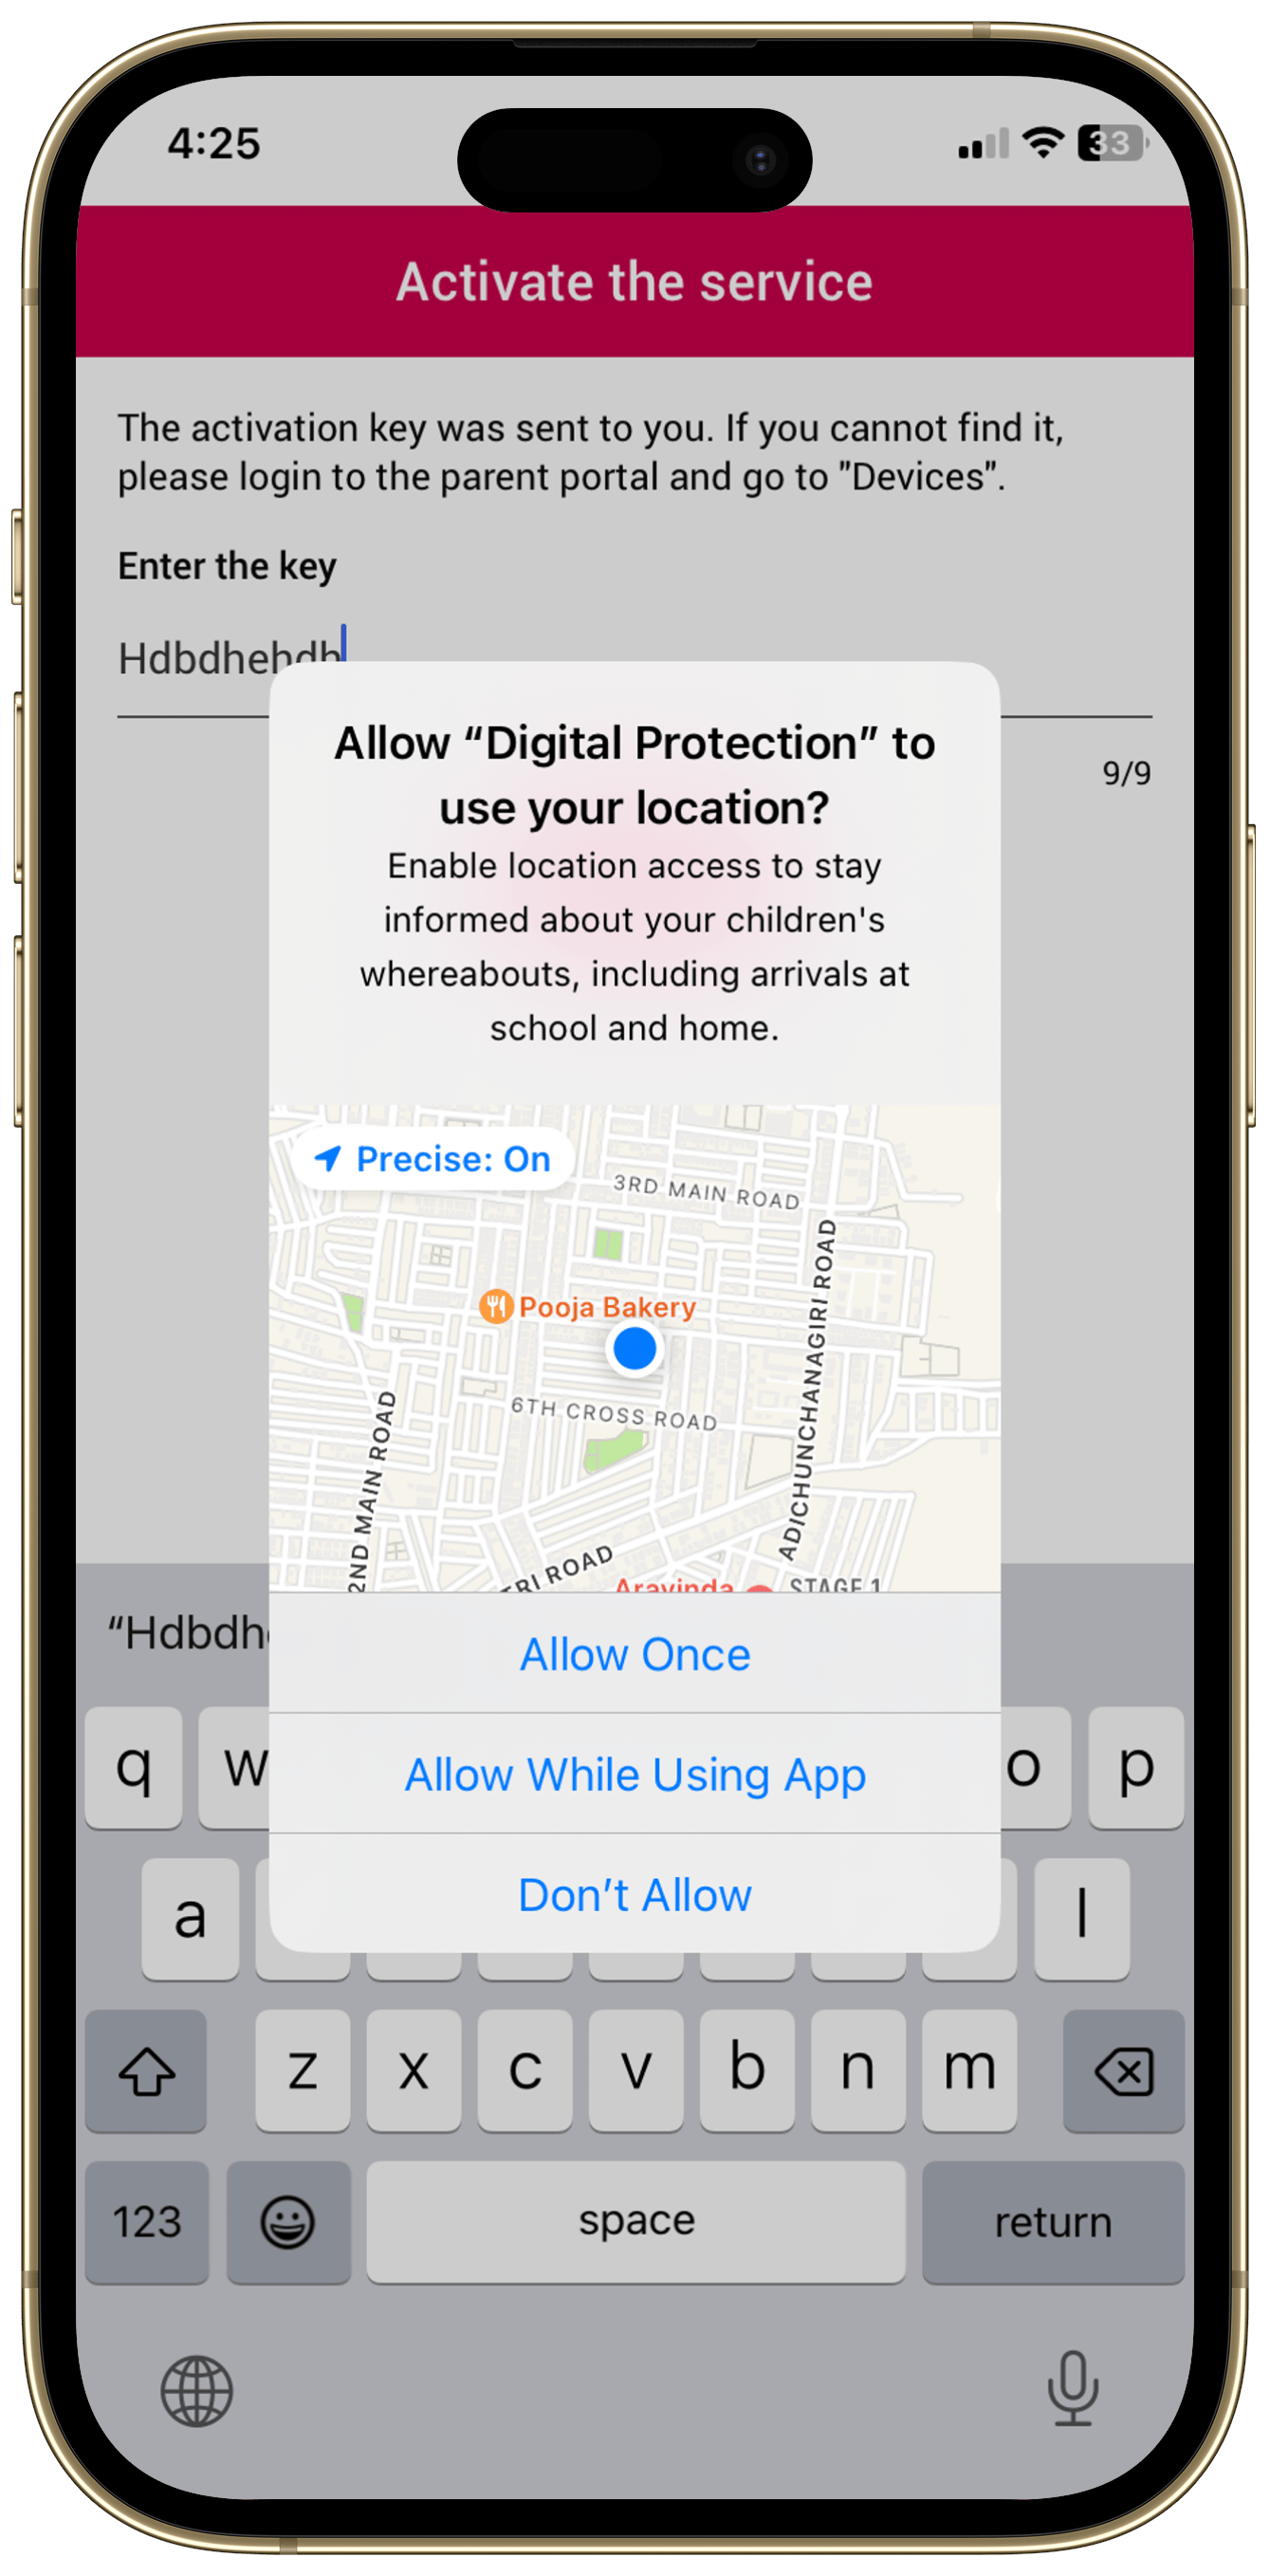
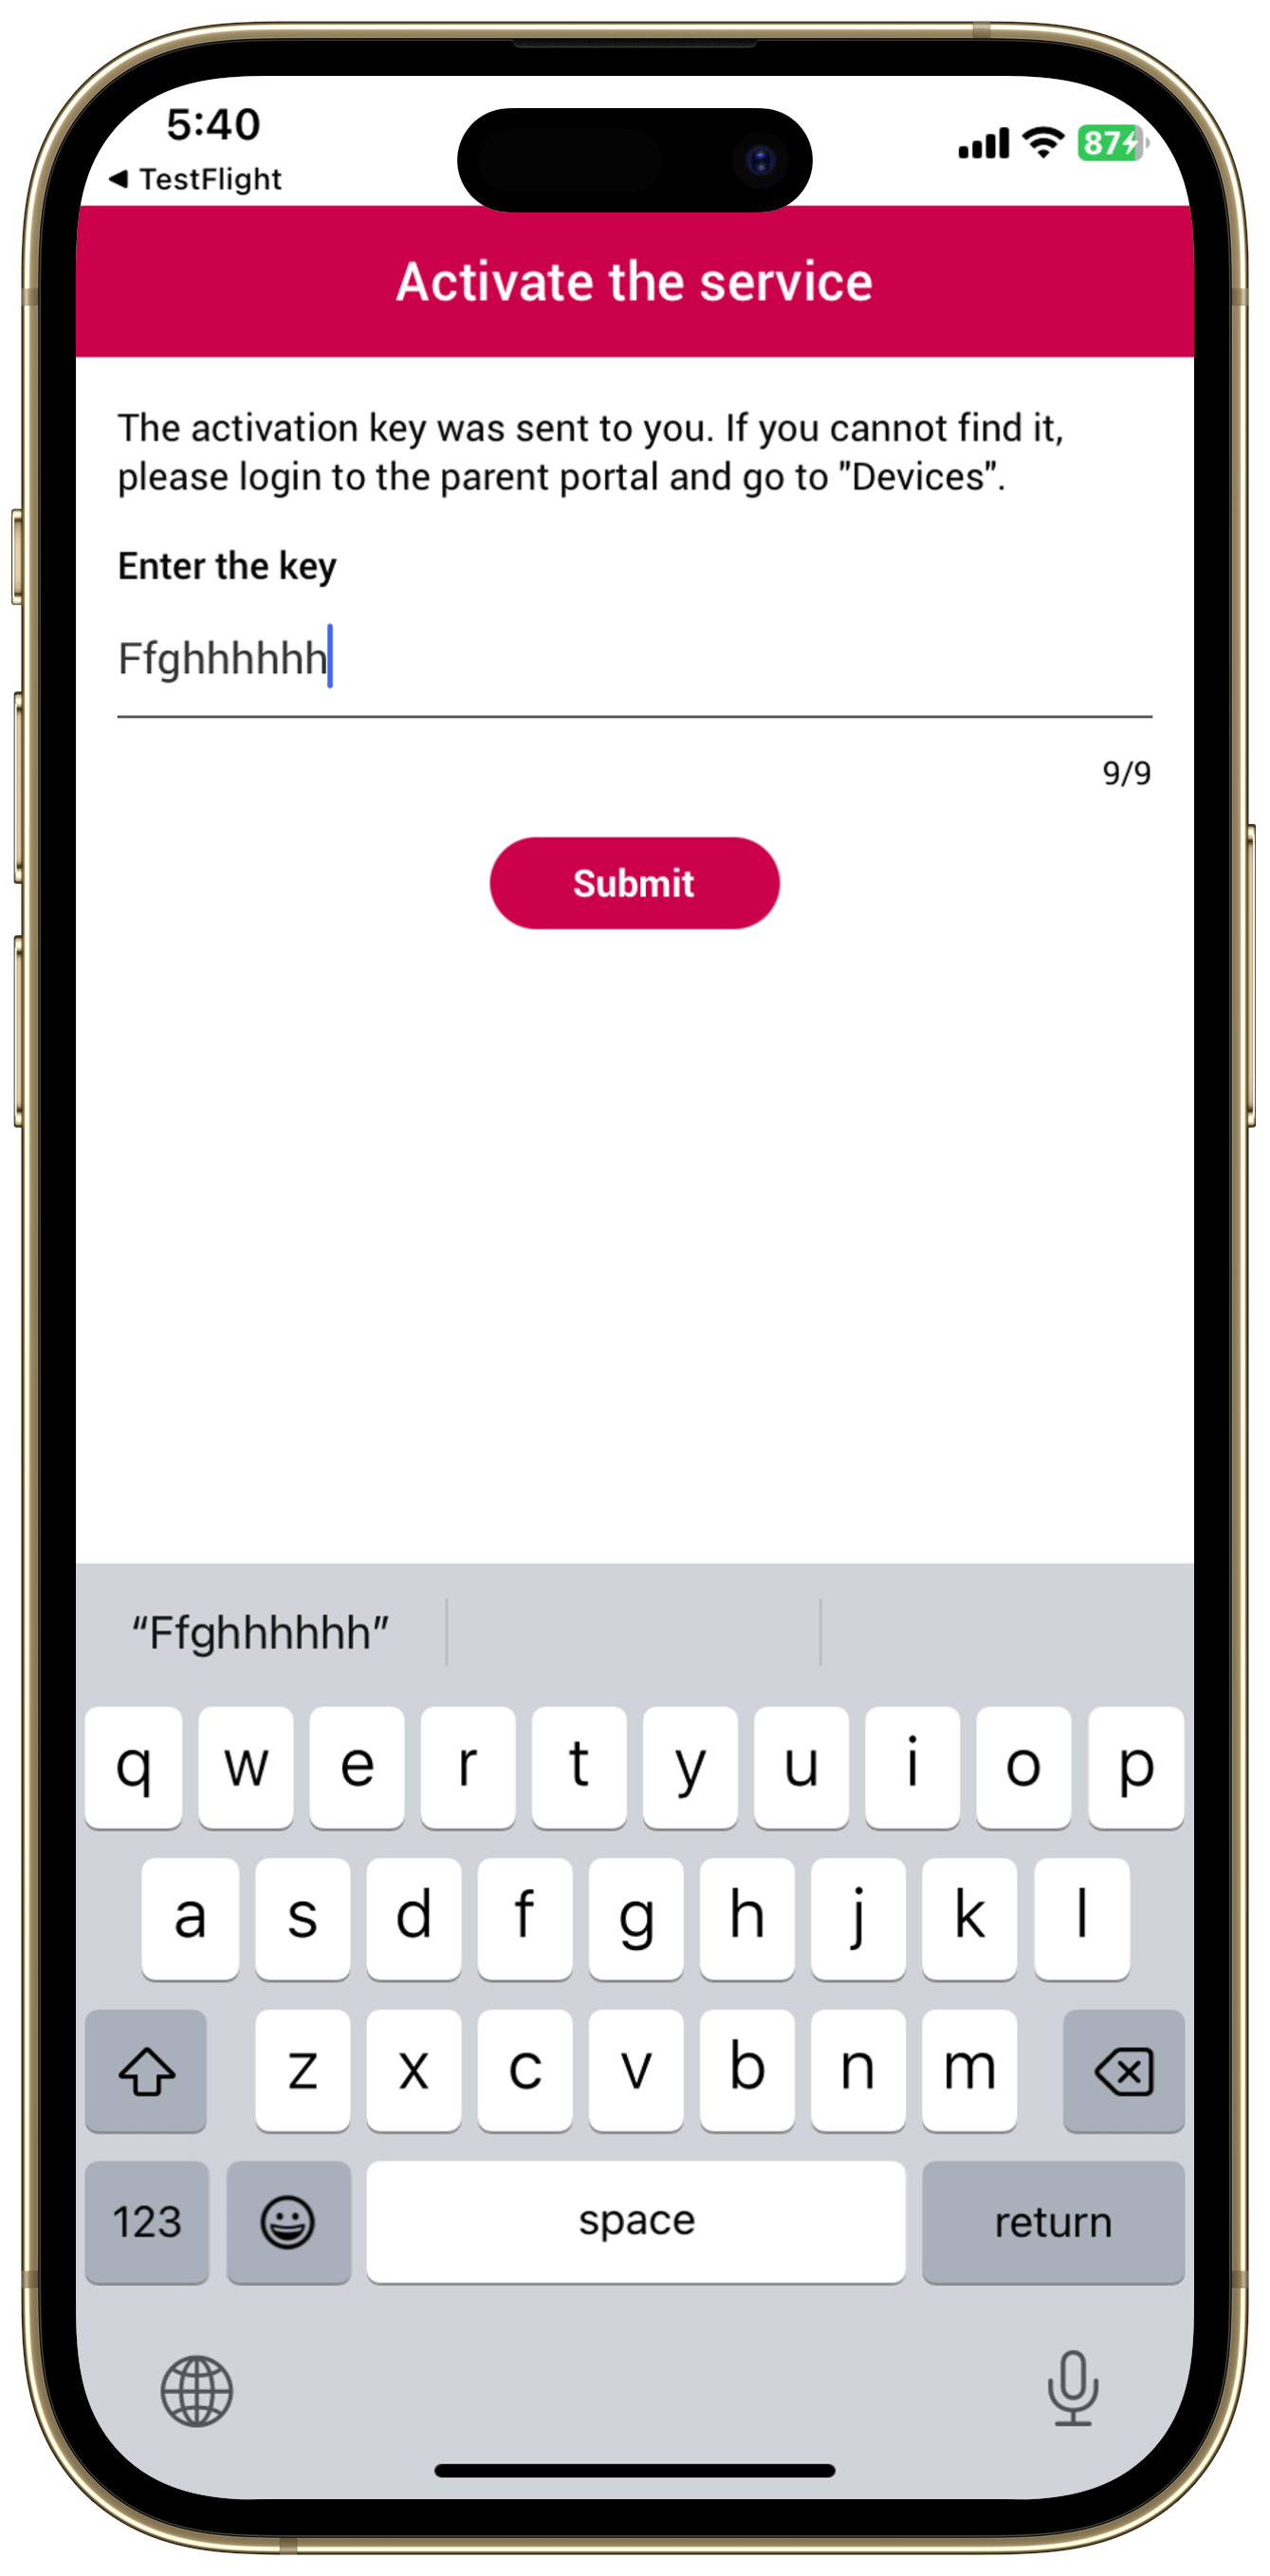
Enter the activation key sent via email or found on the Parent Portal. Tap “Submit”.
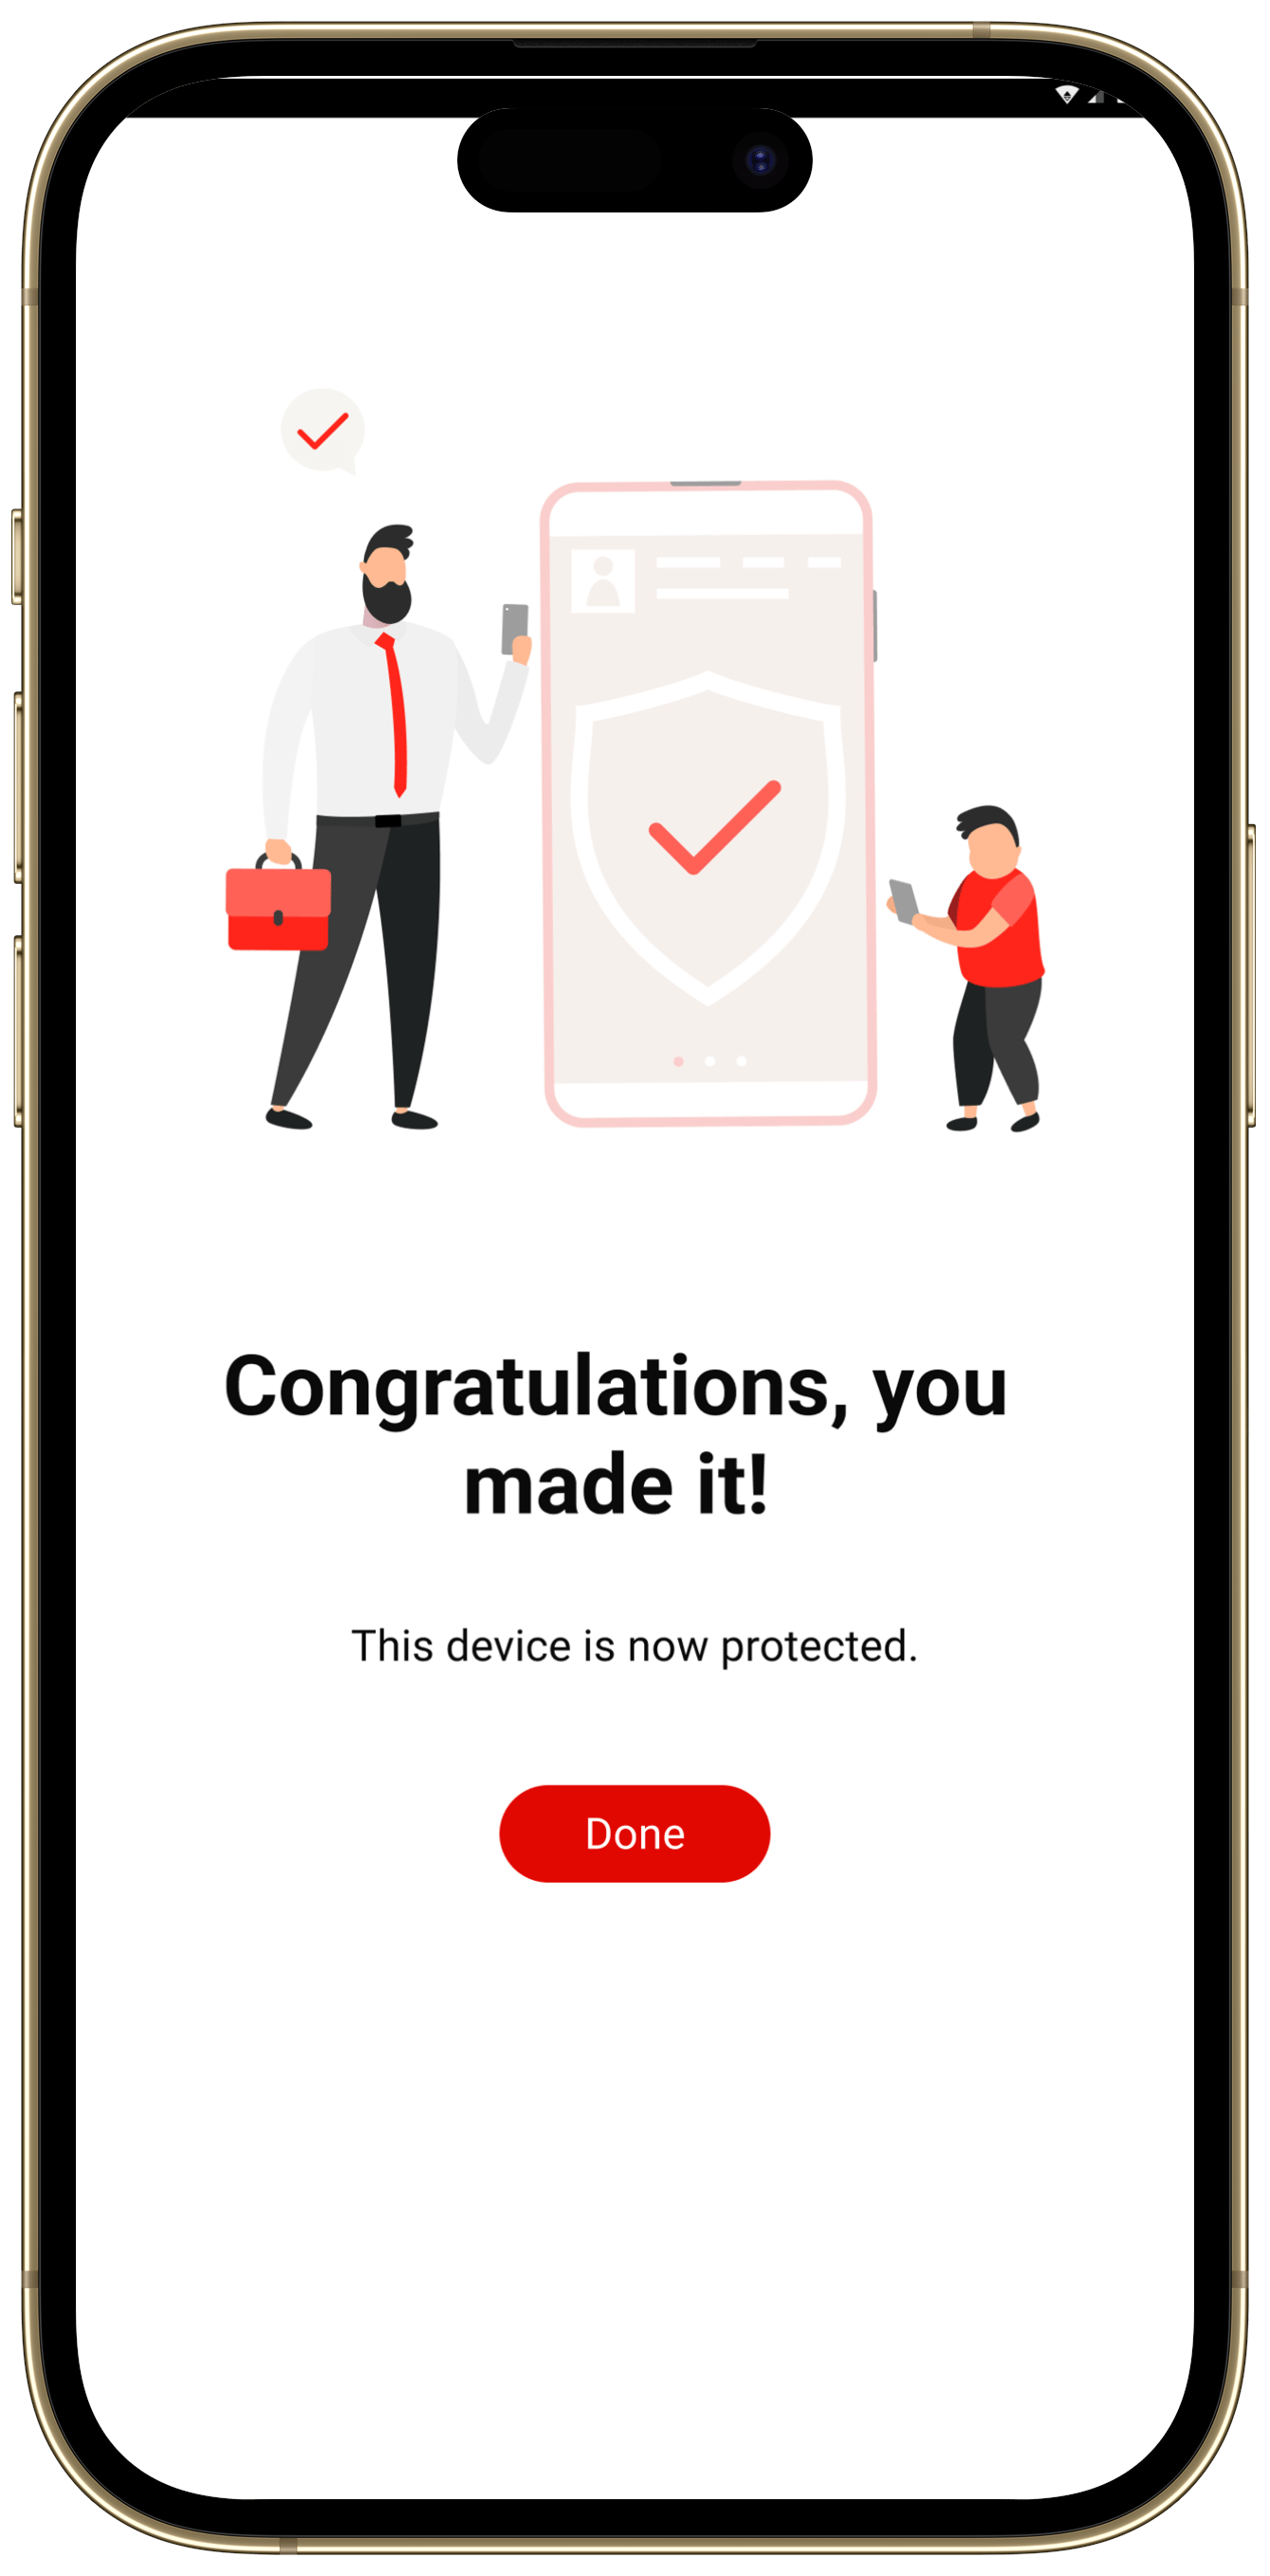
You did it! Tap “Done” to be directed to the application’s Home Screen.
